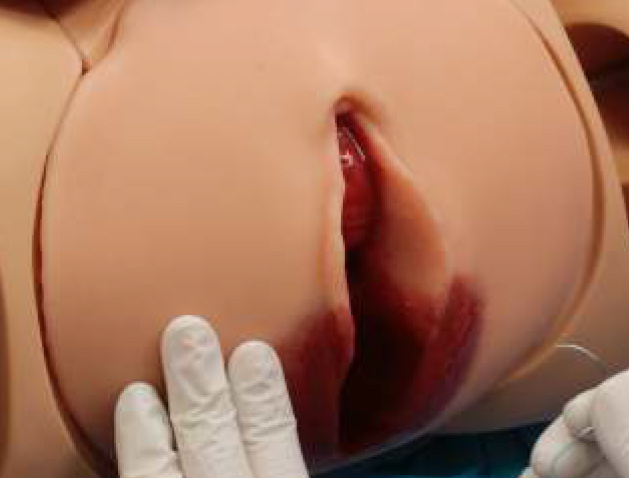
Gaumard Noelle Maternal Birthing Simulator (S552.250)
v17.6.1 User GuideBirthing Package - Check List
Equipment Setup
Overview
NOELLE is shipped assembled. The birthing fetus is fully assembled. Perform the following steps as part of the irst install process.
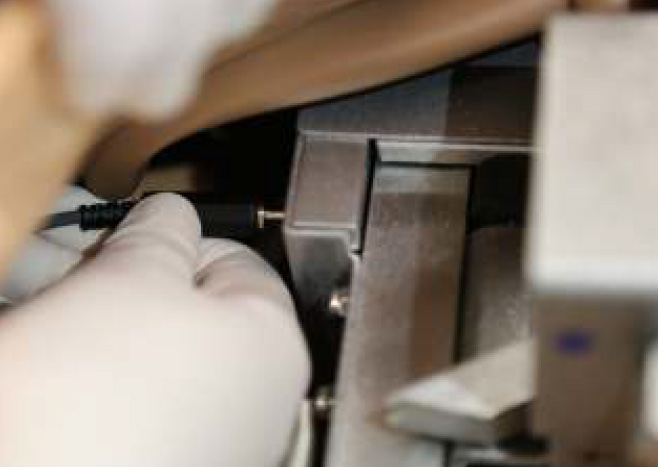
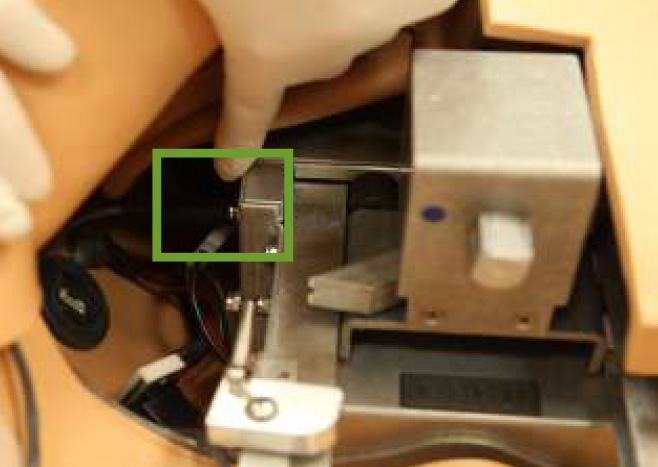
Fetal Heart Rate Speaker
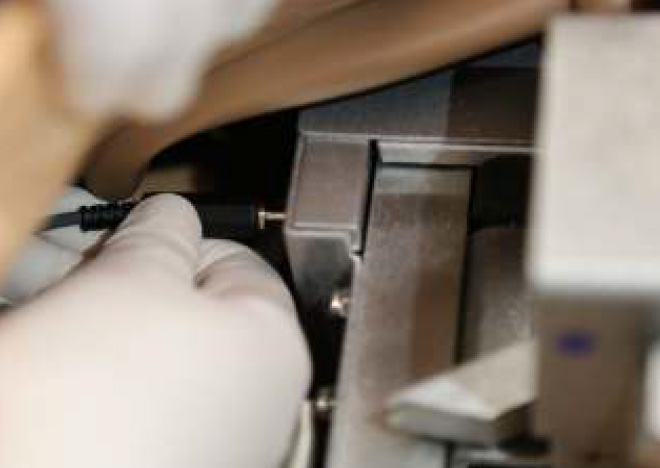
Connect the speaker cable, exiting NOELLE's abdominal cover, to the right side of the birthing mechanism.
Power Supply
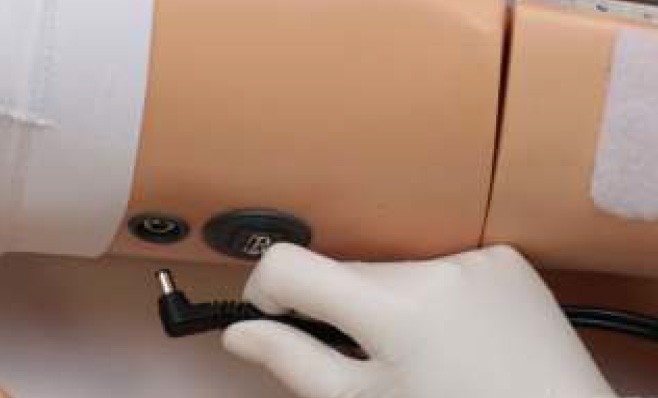
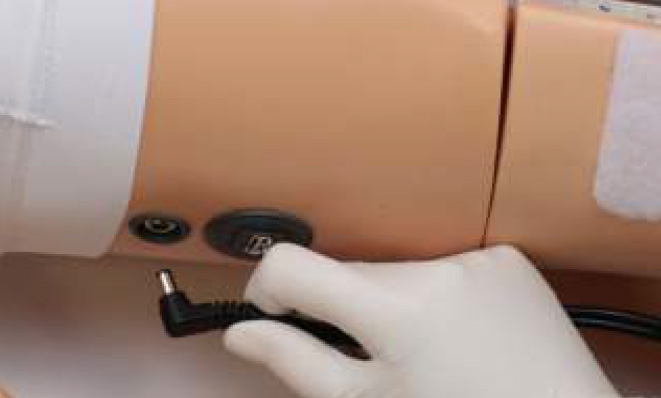
Connect the power supply to the power input located on NOELLE's right side, and then connect the power supply to the wall outlet.
OMNI 2 Connection Setup
OMNI® 2 controls Noelle's responses with the touch of a button. The tablet operates Noelle wirelessly.
- Connect the power supply to Noelle
- Turn on OMNI® 2 by pressing and holding the ON button on the right side of the tablet.
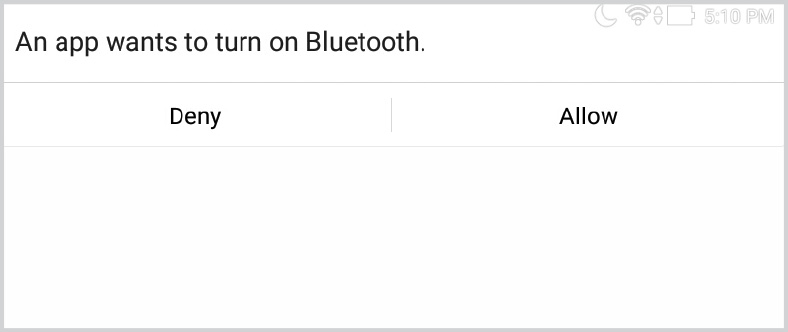
- Select Allow to turn on Bluetooth for the tablet.
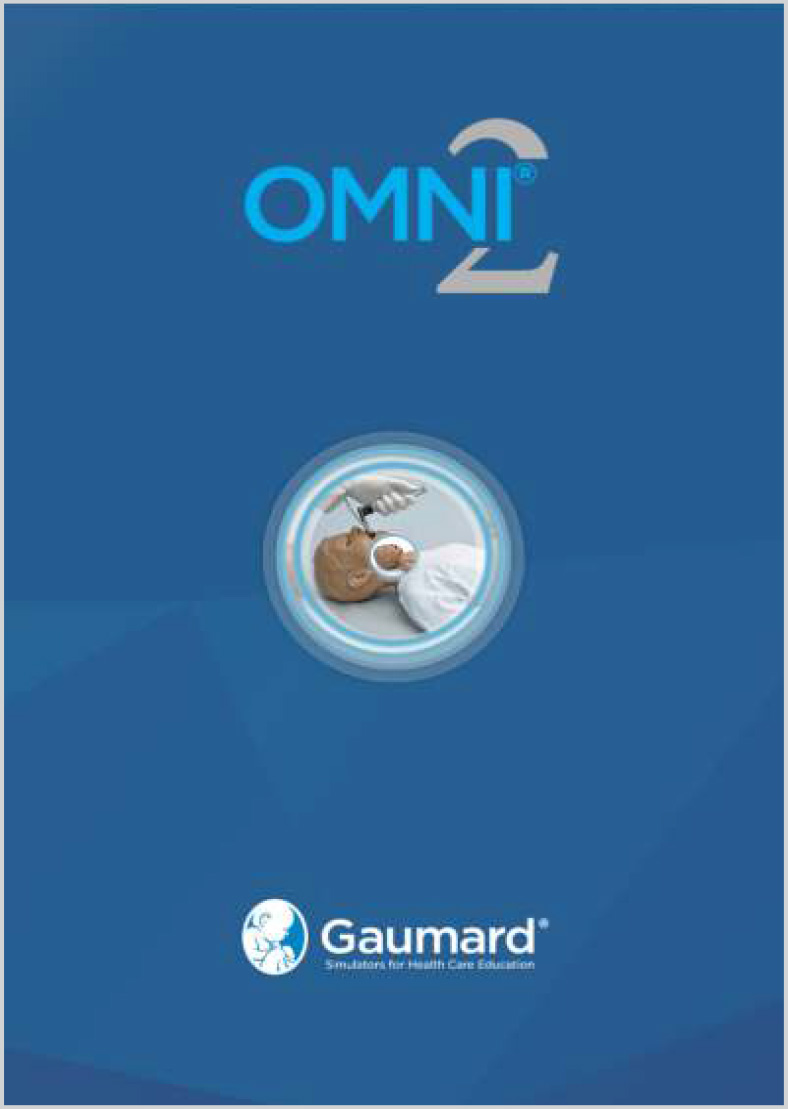
- A startup screen is shown while OMNI® 2 is detecting the simulator features.
- Follow the on-screen tutorial for a brief overview of OMNI® 2's features.
- Move onto the next steps in the tutorial by selecting GOT IT.
- Exit the tutorial at any time by selecting HOME.
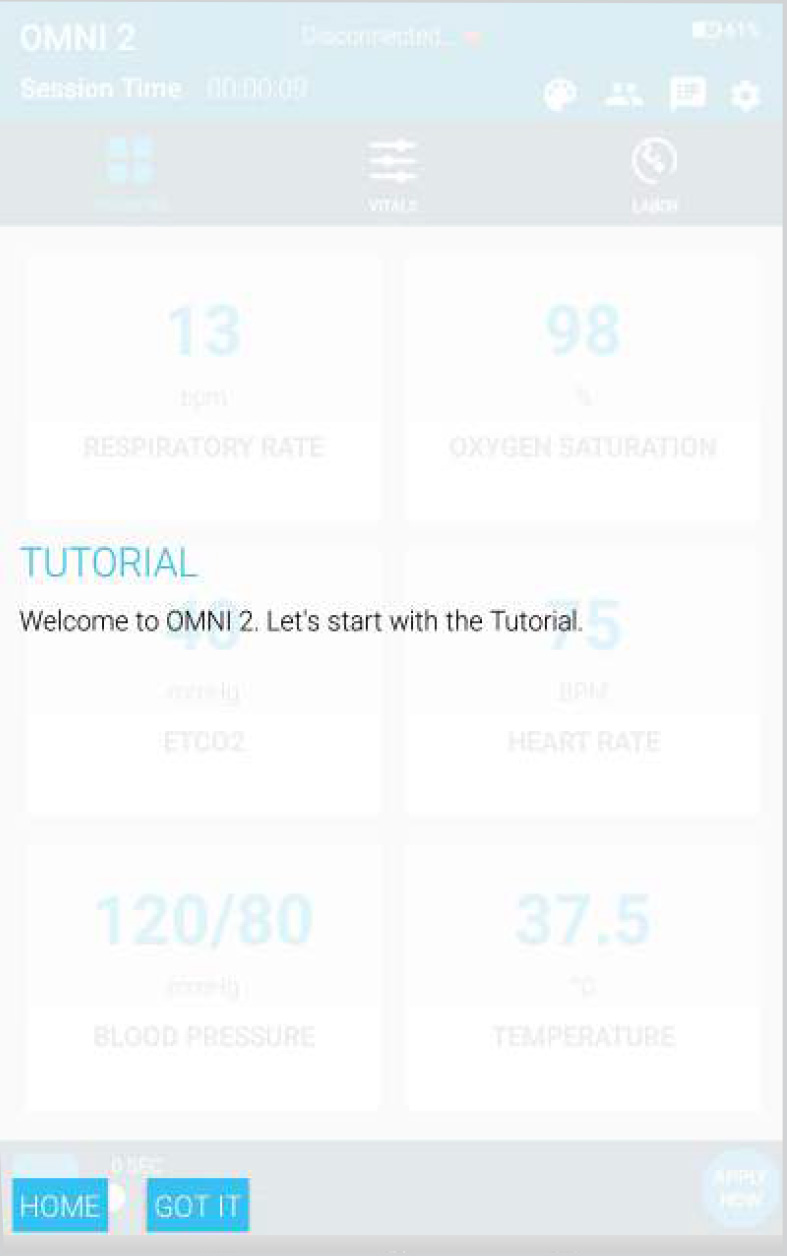
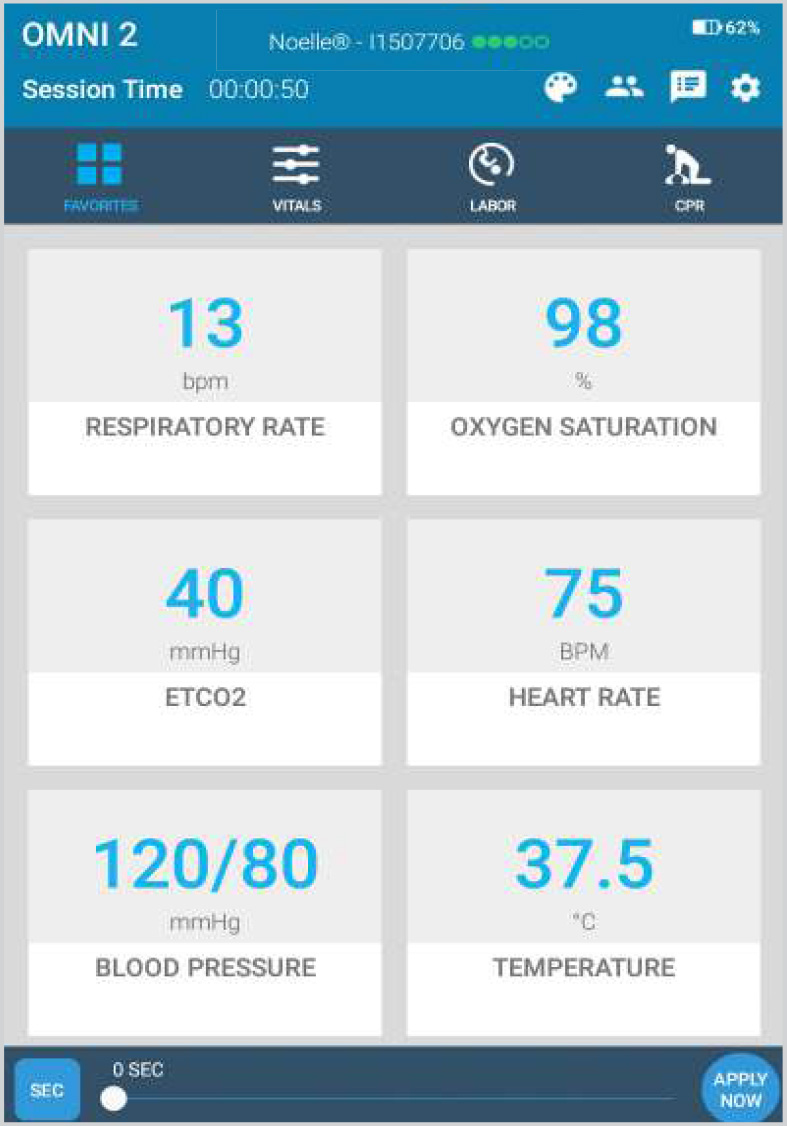
After the tutorial, OMNI® 2 will proceed automatically to the Favorites Page and establish a connection to NOELLE.
Using OMNI® 2
Main Screen
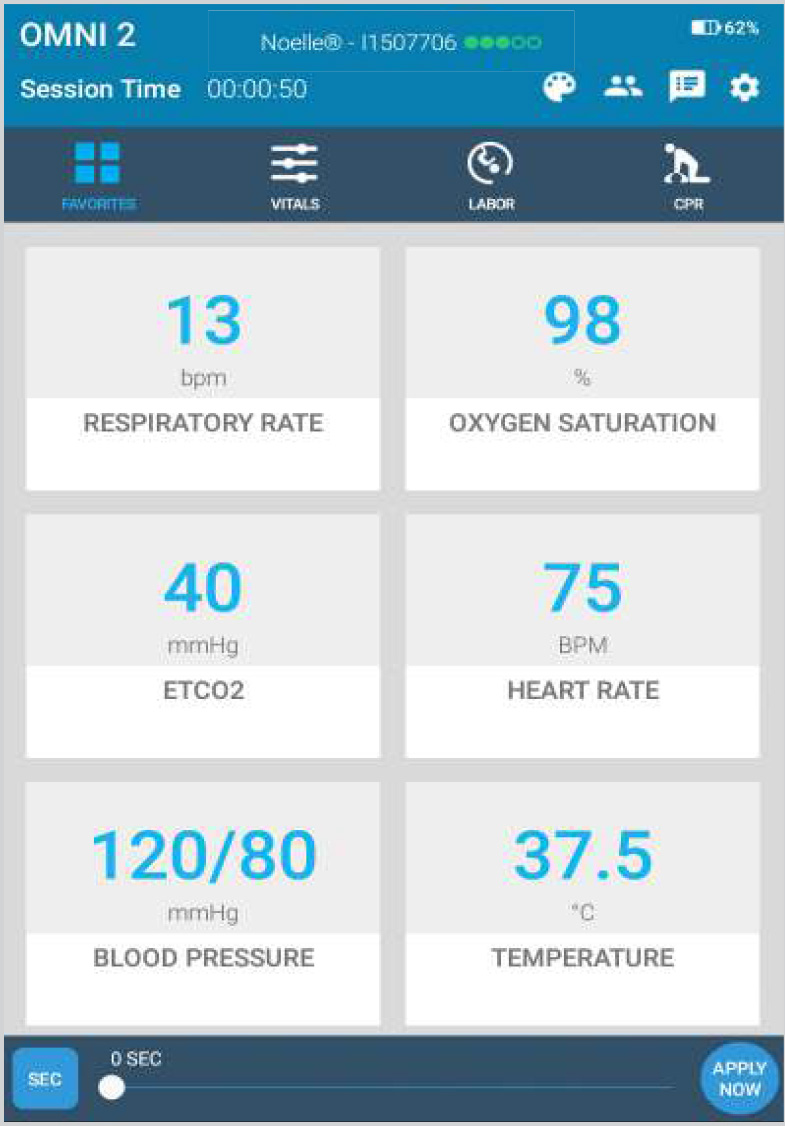
OMNI® 2 opens at the Favorites Page upon start up.
Perinatal Parameters
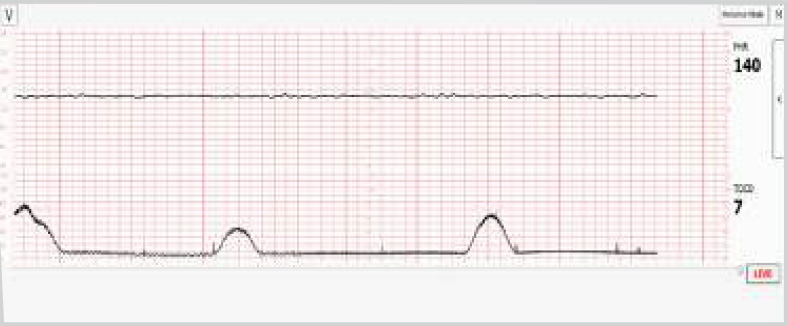
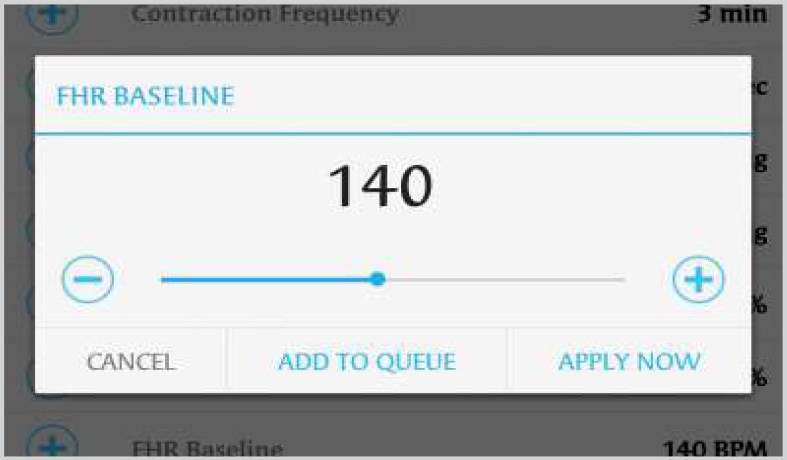
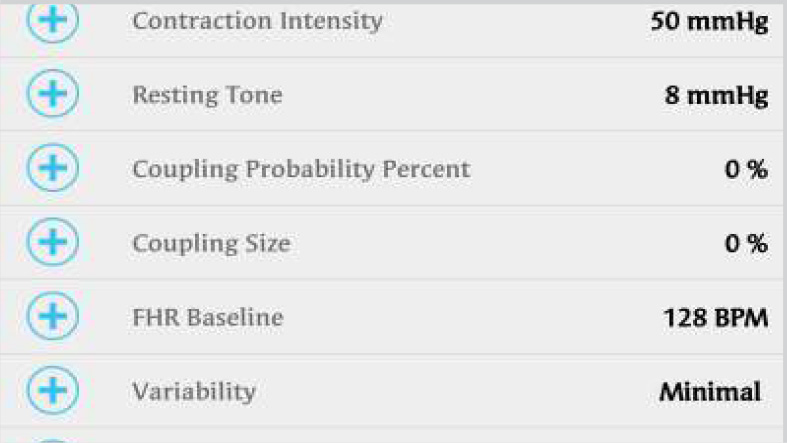
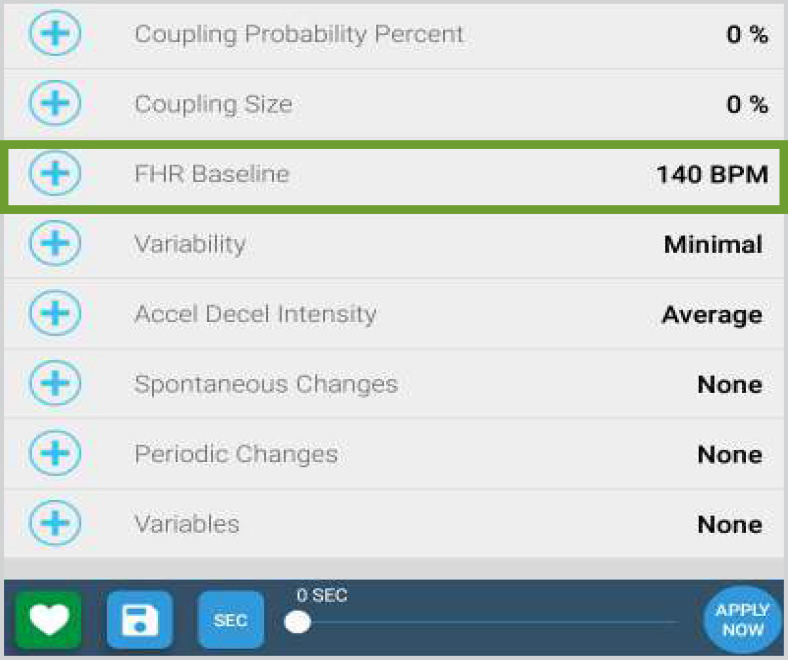
Change the fetal vital signs in the Vitals Page. Observe the changes on the optional Virtual Monitor. Find all the parameters in the Vitals Page.
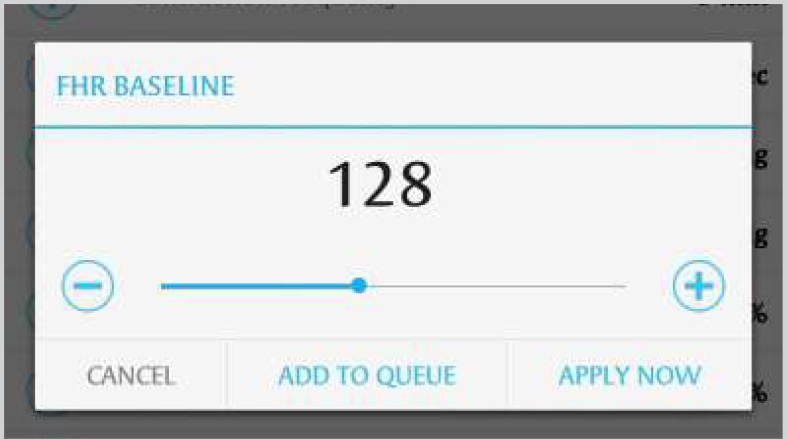
In order to change one of these parameters, follow the steps below:
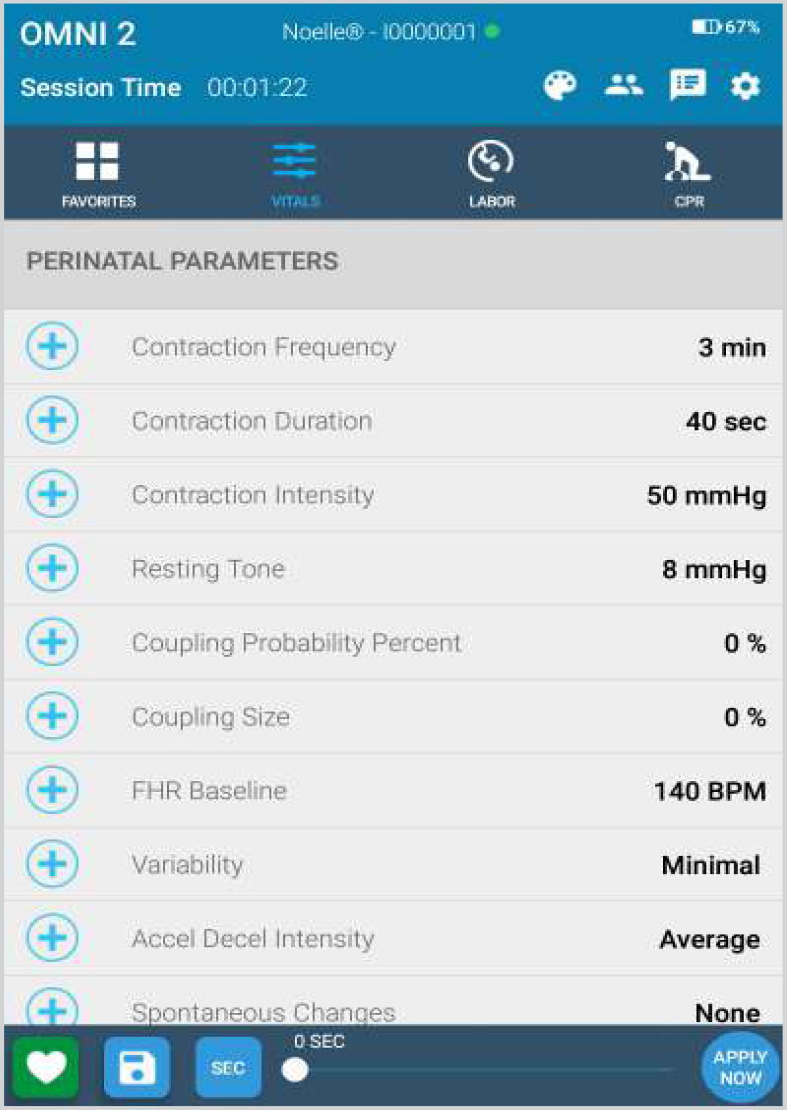
- Tap on a vital sign.
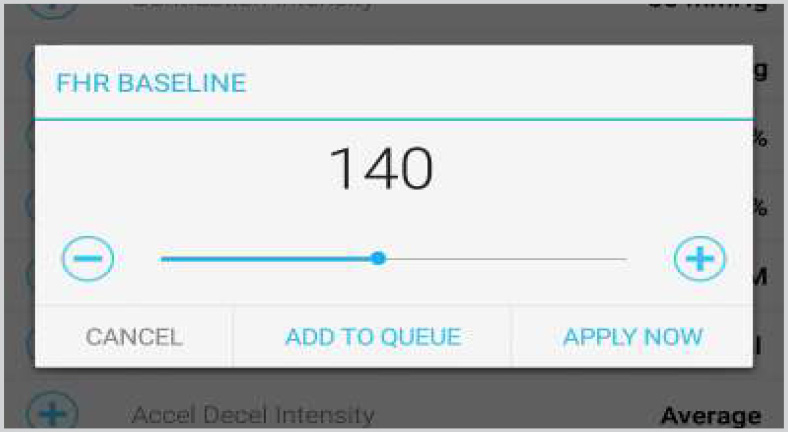
- Adjust the value utilizing the + / - icons or the slider dot.
- Select "APPLY NOW".
Labor Page
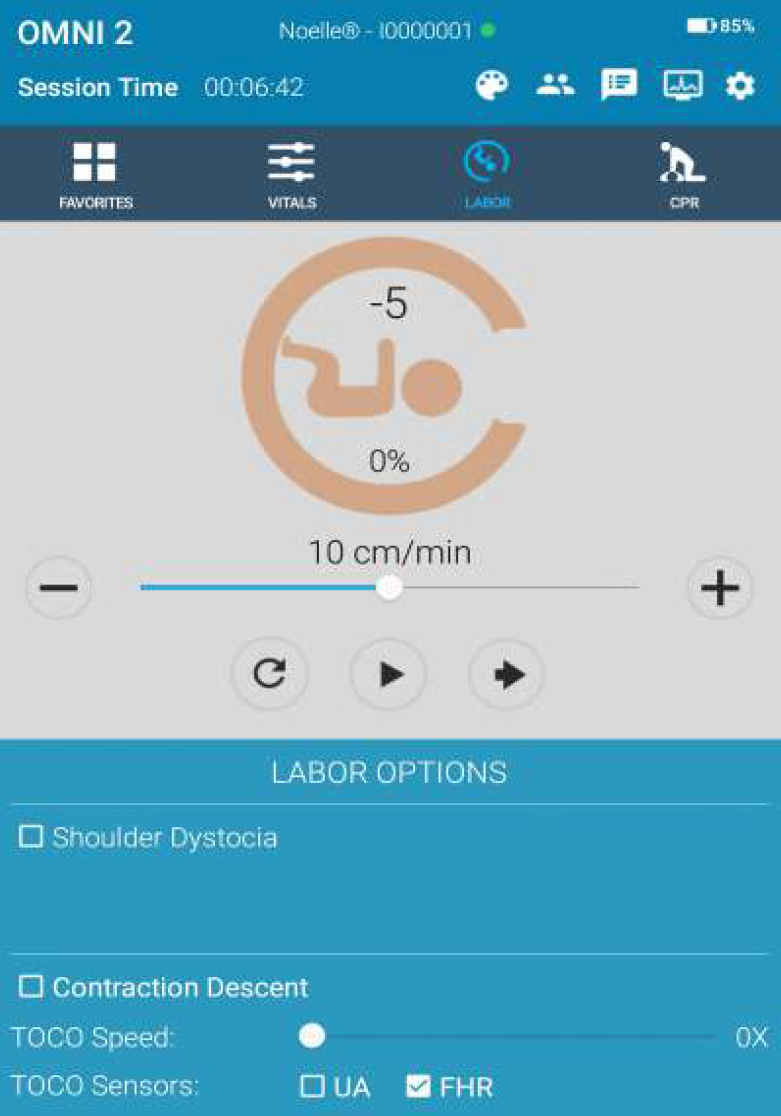
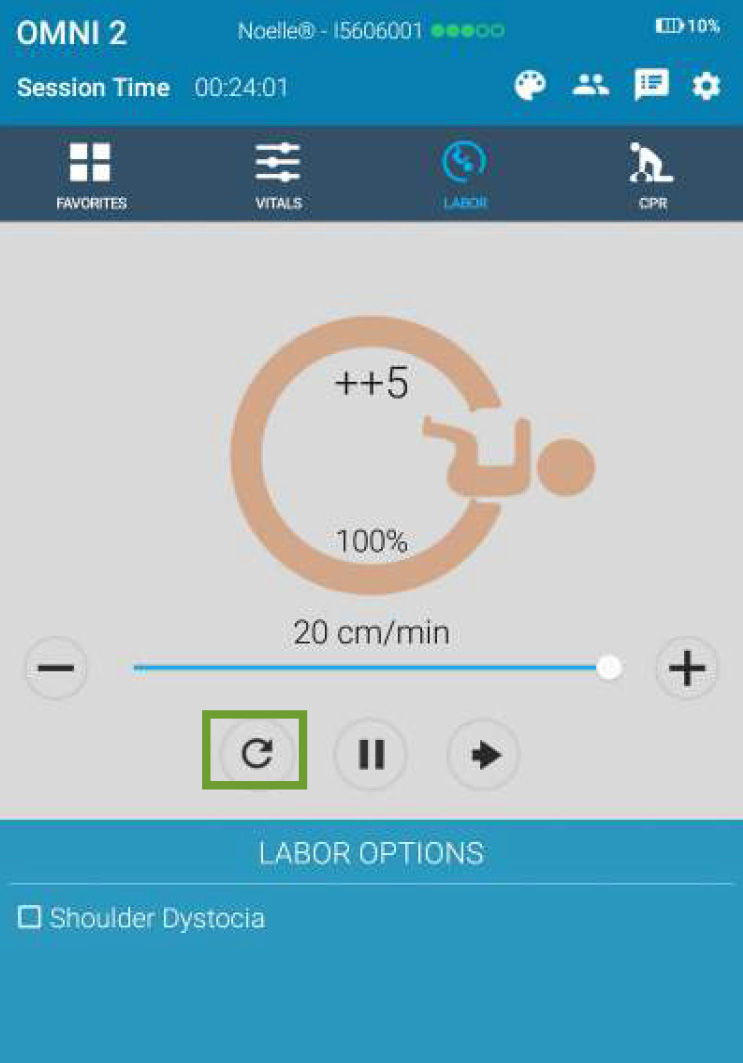
In the Labor Page, carry out and monitor a delivery.
Enable or disable shoulder dystocia and turtle signs during delivery.
Actions
Make changes to the delivery on the ly using the buttons.
| Button | Functions |
 |
Increase or Decrease the current labor duration |
 |
Increase or Decrease the current labor duration |
 |
Reset birthing mechanism to initial position |
 |
Play the delivery |
 |
Push to end |
 |
Activate or deactivate Shoulder Dystocia |
 |
Generate Turtle Signs |
Feedback Graphics
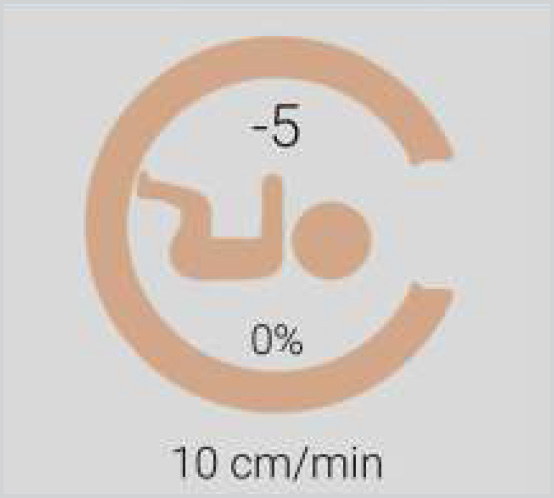
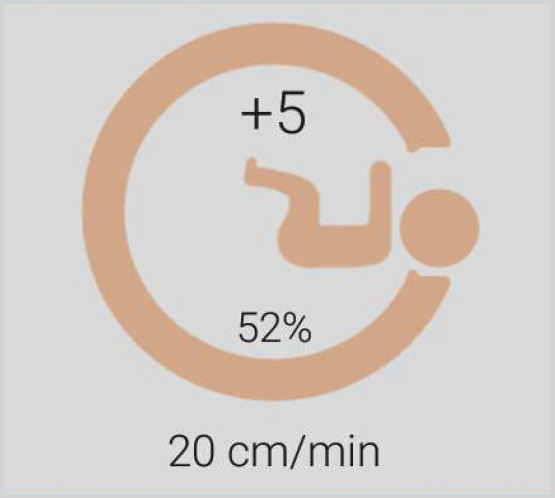
The diagram here is a representation of the delivery of the fetus through the birth canal. The percentage and the -5 values will change in correspondance to the movement of the motor.
Dystocia Menu
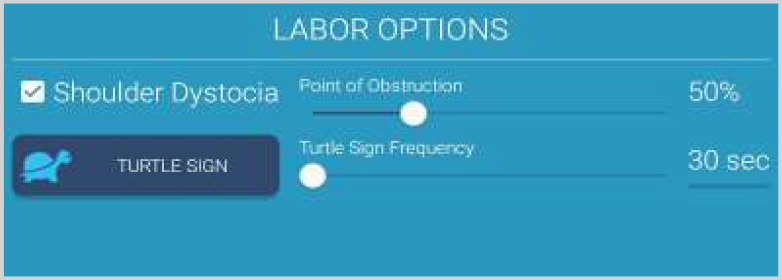
Check the Shoulder Dystocia option to activate the condition. When shoulder dystocia is check marked, labor sub menus will appear.
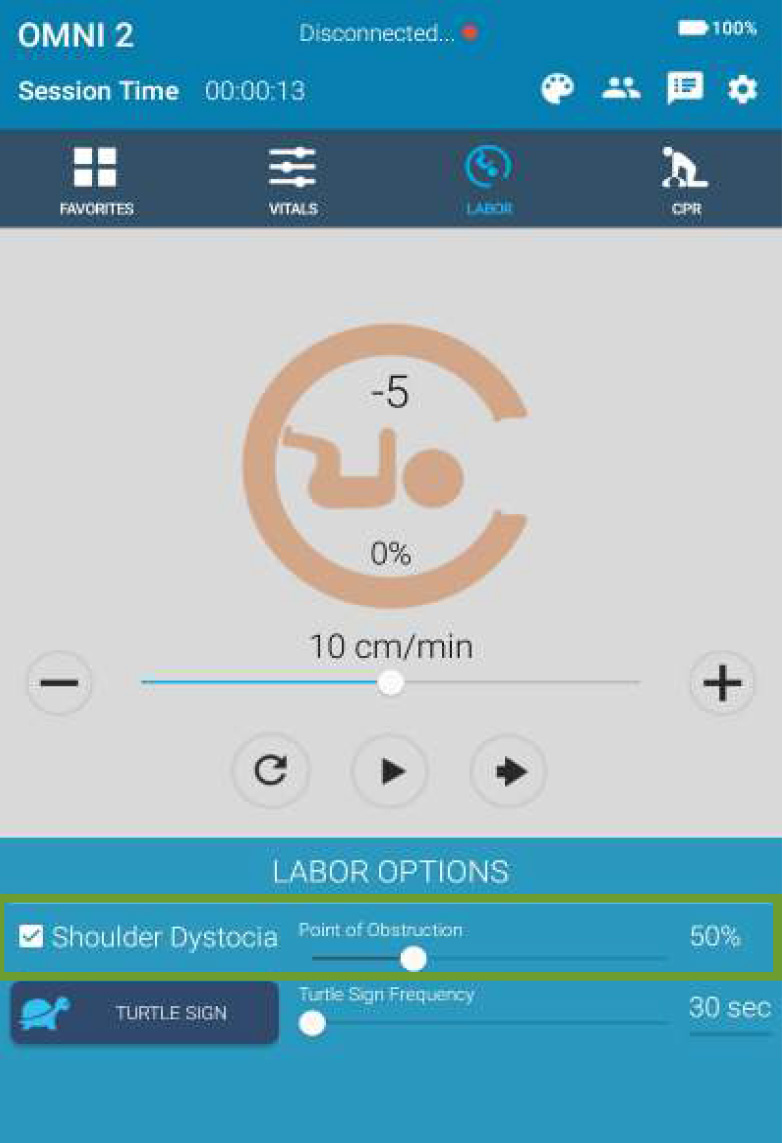
These options provide a quick way to generate turtle signs anytime.
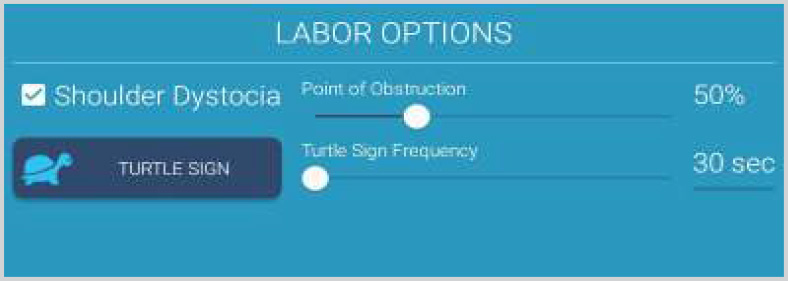
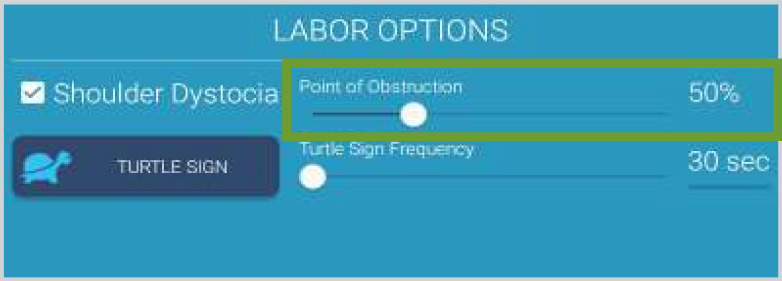
The percentage speciies when the shoulder dystocia will be applied. When the percentage is set to 50%, the fetus will display a shoulder dystocia when it is about 50% through the labor cycle.
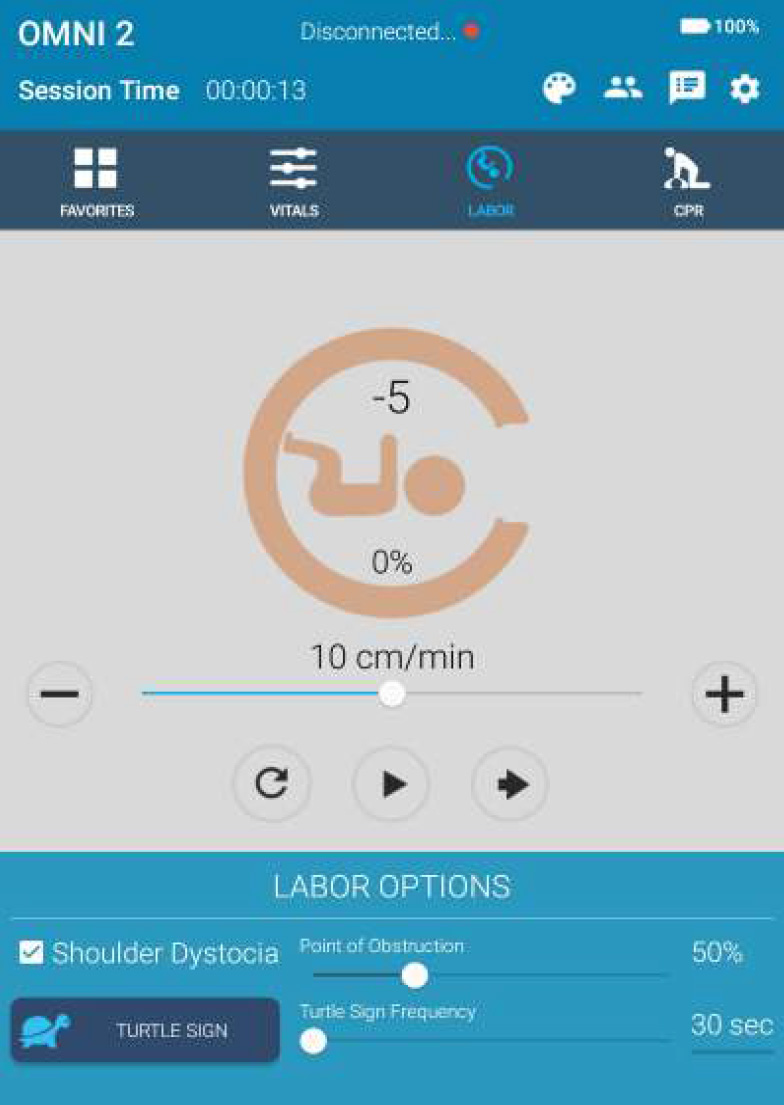
The timer on the right speciies how long until the next turtle sign. The slider dot can adjust the time anywhere between 30 to 120 seconds.

Working with NOELLE
Obstetrics
- Fetal palpation
- Vaginal delivery
- Shoulder dystocia
- Complete, frank and footling breech deliveries
- External version
- Cord prolapse
- Placenta previa
- Vacuum or forceps delivery
Automatic Birthing Mechanism and the OMNI® 2
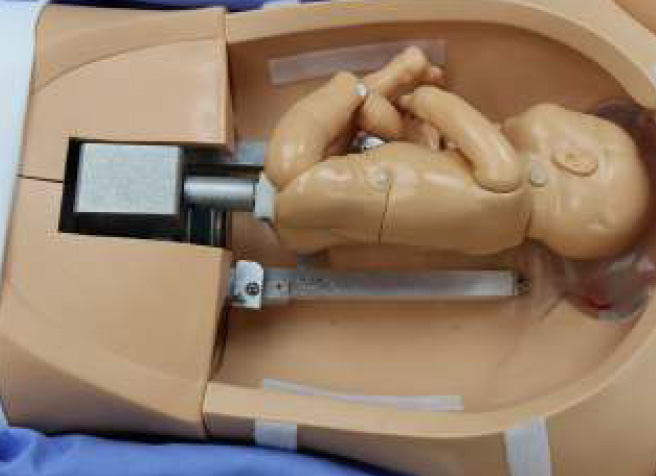
NOELLE is supplied with an electromechanical system to automatically deliver the fetus using the OMNI® 2 tablet. The system, conigured with the OMNI® 2, provides internal rotation, linear motion to "crowning", and a second rotation to present the fetal shoulders parallel to the longitudinal axis of the vulva.
Leopold Maneuvers
- Retract the birthing mechanism and remove the articulating birthing baby.
- Place elevating pillow within simulator.
- Place birthing fetus in the vertex, breech, or transverse position onto the elevating pillow and lift fetus anteriorly using squeeze bulb.
- Route the inlation bulb outside NOELLE through any space provided on the left side and inlate the elevating pillow.
- Lubricate the fetus and elevating pillow.
- Secure the abdominal cover into place with the velcro.
- Conduct the Leopold Maneuvers.

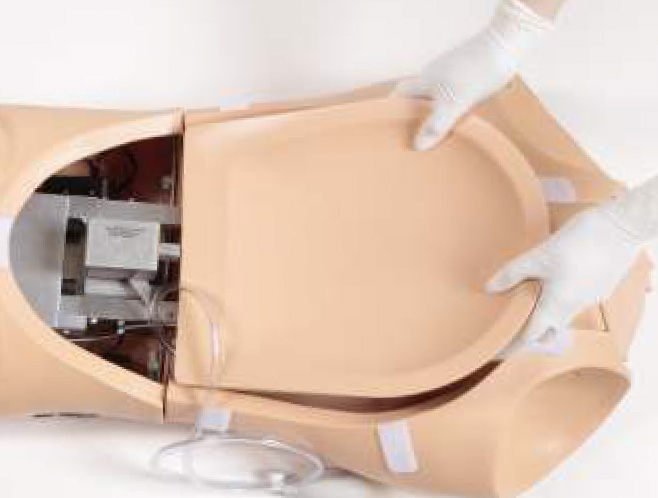
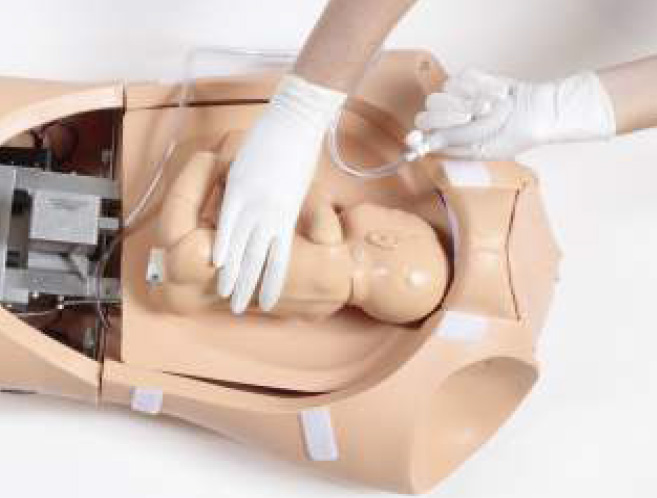
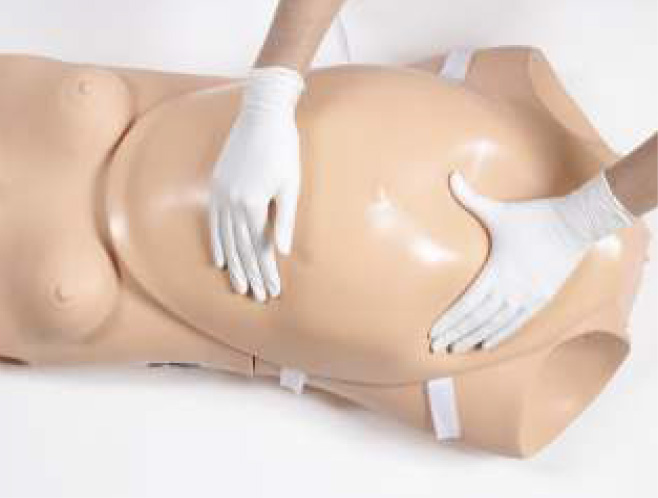
Optional Palpation Abdominal Cover
NOELLE has an optional silicone Leopold Maneuver abdominal cover. The fetus loat freely inside an amniotic sack which provides tactile feedback and resistance when performing the Leopold Maneuvers or external version exercise.
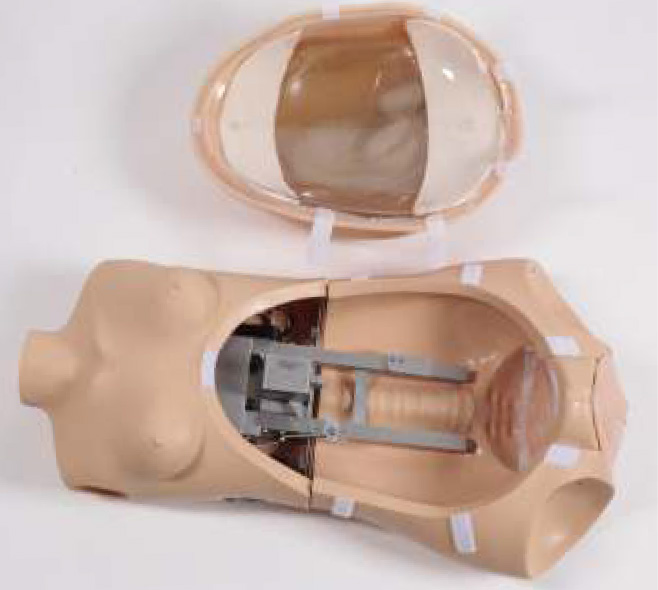
To set up the Leopold Maneuver cover, simply secure the cover into place with the velcro. Perform the maneuvers on the silicone cover.
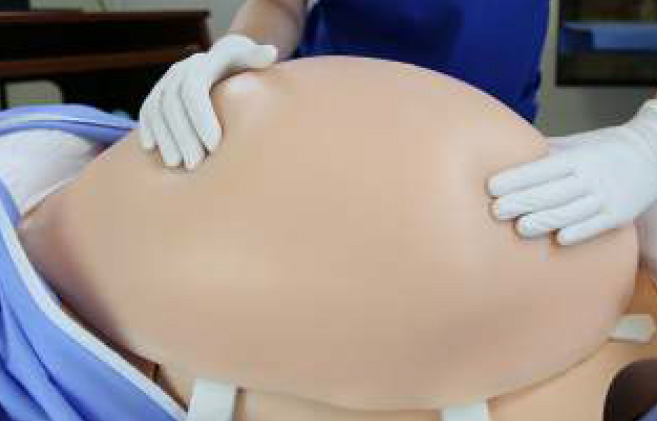
The fetus can be set up in Noelle's abdominal cavity and birthed for a scenario.
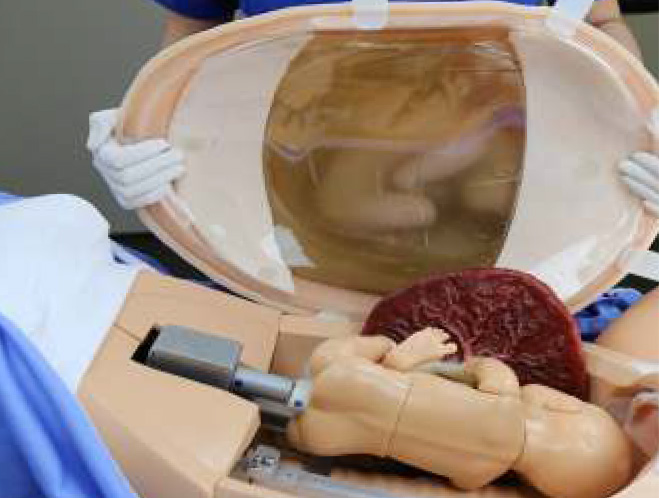
Please refer to the Normal Labor and Delivery Section to set up NOELLE for a birth.
Dilating Cervix
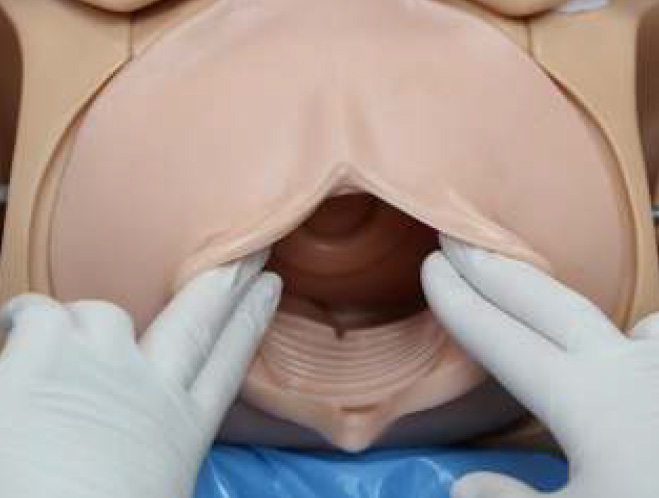
As the fetus proceeds down the birth canal it pushes against a simulated uterus/cervix. Students can measure birth descent and cervical dilation which may be used to plot the progress of labor.
Normal Labor and Delivery
- Remove the abdominal cover.
- Lubricate the articulating birthing fetus.
- Lubricate the vulva and cervix internally and externally using silicone lubricant.
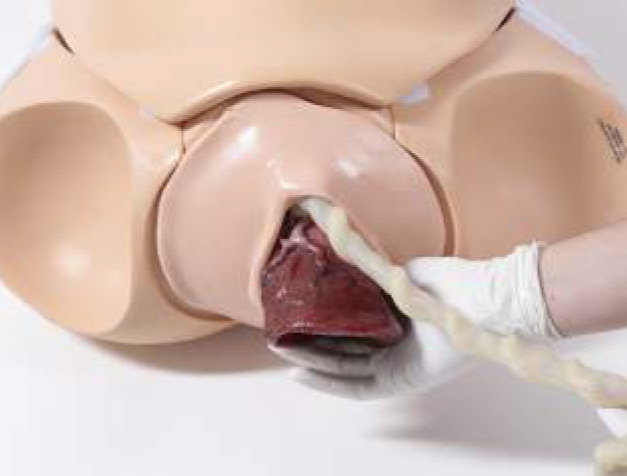
- Attach the umbilical cord to the baby.
- Attach the umbilicus to the placenta.
- Lubricate the placenta and umbilicus.
- Place the placenta against the abdominal wall.
- Connect the cylindrical adapter, with blue markers aligned, to the automatic birthing mechanism.
- Attach the fetus to the birthing mechanism.
- Position the baby so that its head faces toward the left side of the simulator. This position will result in ROA presentation at the end of the delivery cycle.
- Attach the Fetal Heart Rate Speaker to the side of the motor and put the abdominal cover in place.
-
Connect OMNI® 2 to NOELLE.
Refer to the Equipment Set Up section to connect. - Select desired fetal heart rate using the OMNI® 2 Vitals Page by pressing + or - button or the slider, tap Apply Now to accept the value.
- You may adjust the heart rate at any time during the delivery to simulate episodes of bradycardia or tachycardia.
- Navigate to the Labor Page.
- Adjust the speed of the delivery by adjusting the cm/min either by tapping the +/ - or with the slider button.
-
After conirming the settings for the labor, tap the Play button to begin the delivery.

The birthing cycle can be paused at any point and then resumed.
Note that the fetus rotates internally as it moves forward after the head is delivered and before the shoulders are delivered.
In the event the birthing baby binds in the birth canal, the mechanism will pause and back up. If this occurs, remove the abdominal cover, PAUSE the birthing mechanism from the OMNI® 2. Disconnect the fetus from the labor motor and reset the labor motor. Start the delivery again.During delivery, fetal heart tones can be heard by placing the bell of a conventional stethoscope on the abdomen.
Change the fetal heart rate using OMNI® 2 by accessing the Vitals Page.
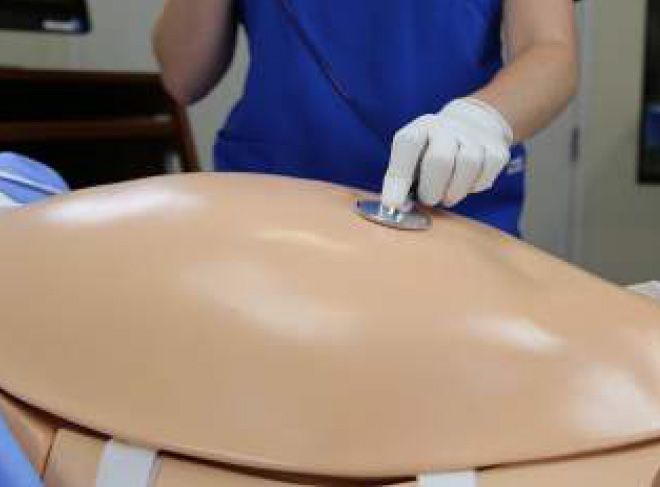
The cervix dilates as the fetal head moves down the birth canal. Crowning of the fetal head can be seen.
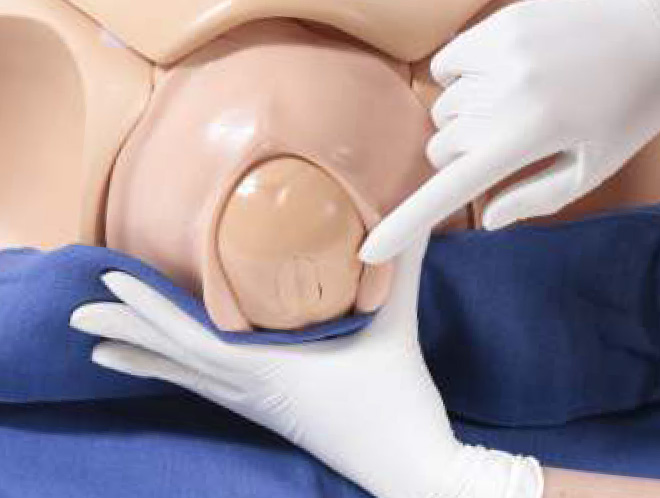
External fetal rotation aligns shoulders with the longitudinal axis of the vulva.
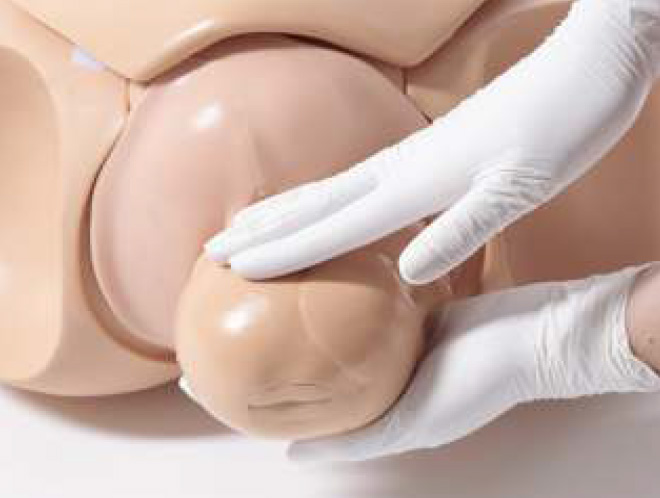
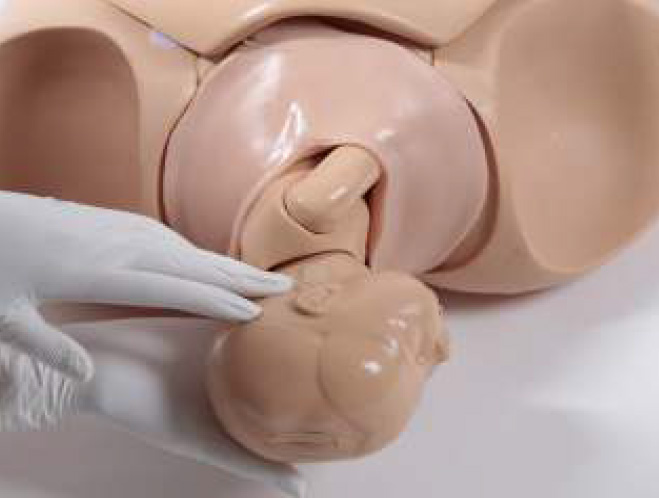
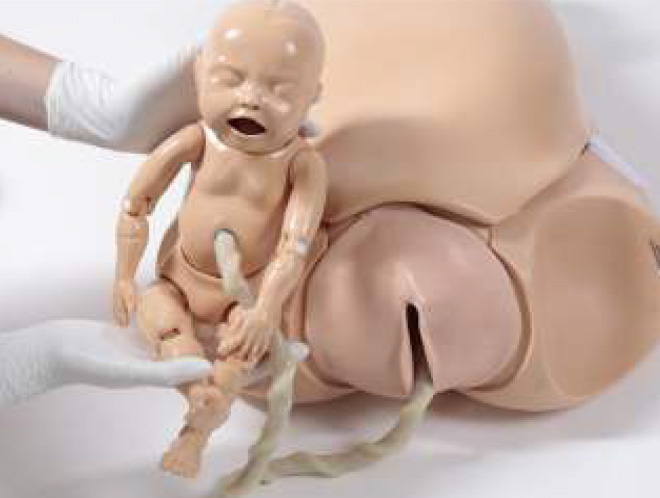
- Deliver the fetus.
- Practice umbilical cord clamping and cutting on the consumable cords.
- Reset the labor motor.
- Birth the placenta.
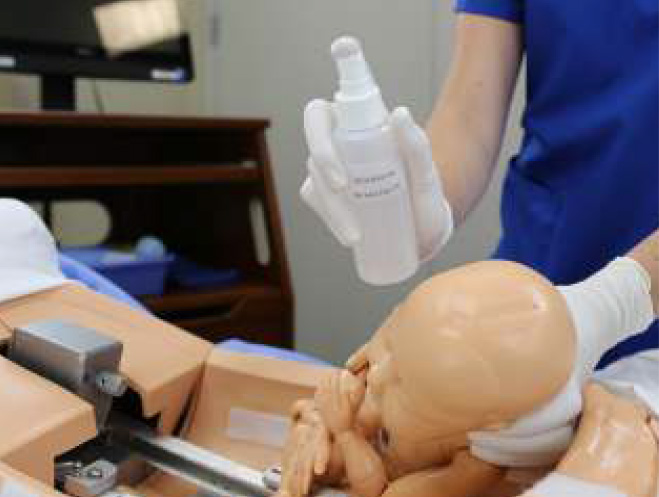
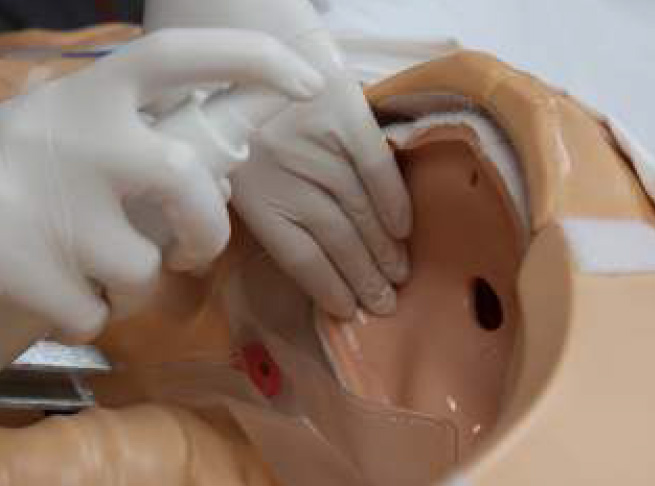
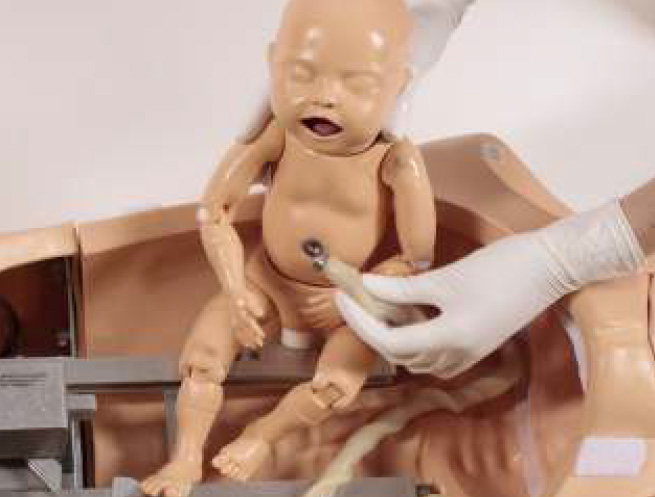
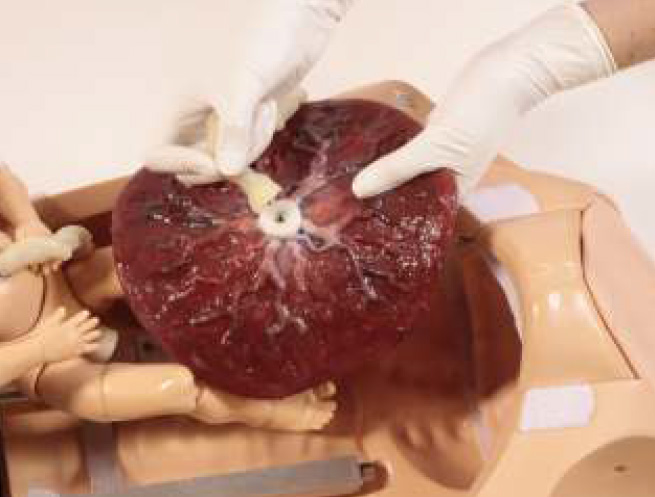
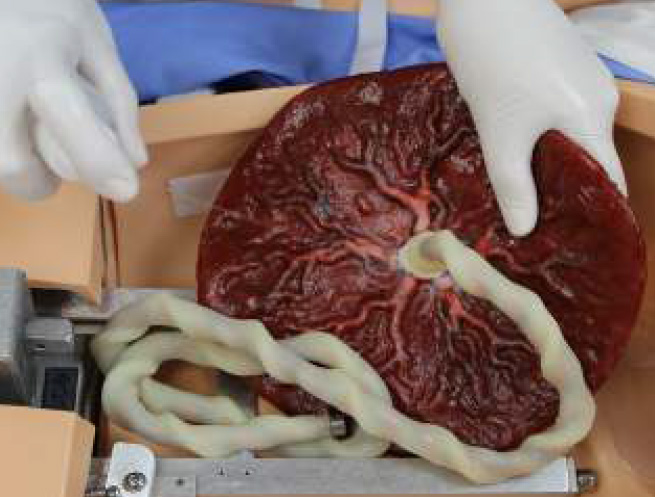
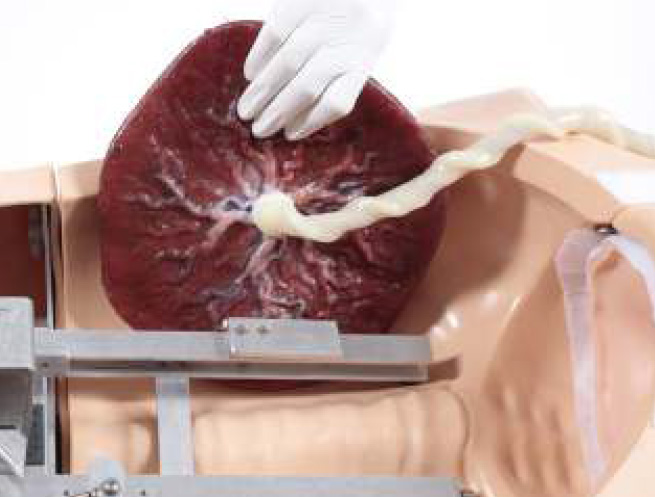
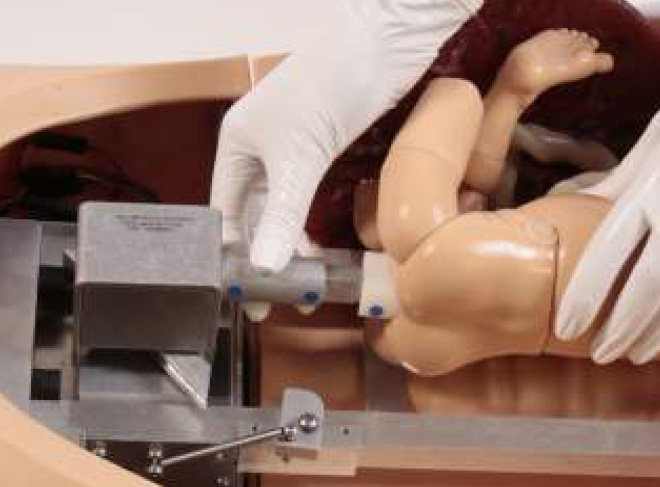
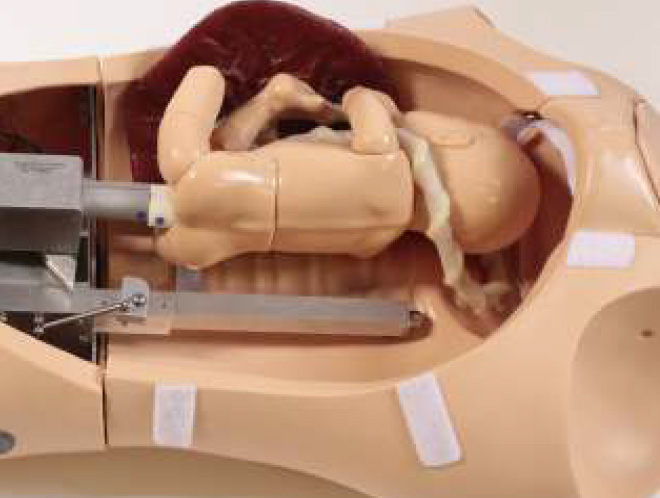
Any other delivery position may be chosen; however, take care that the fetal shoulders are aligned with the long axis of the vulva insert.



Vacuum-Assisted Delivery
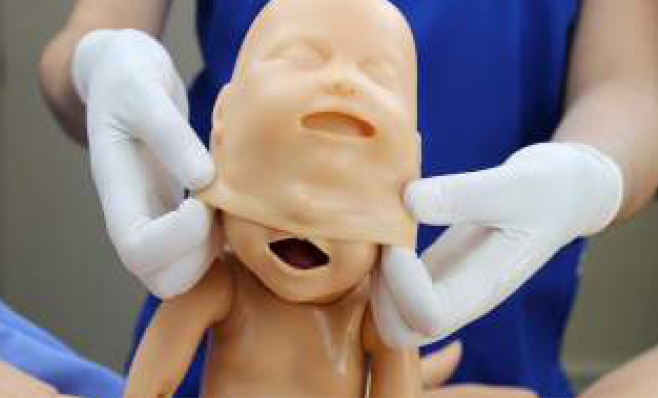
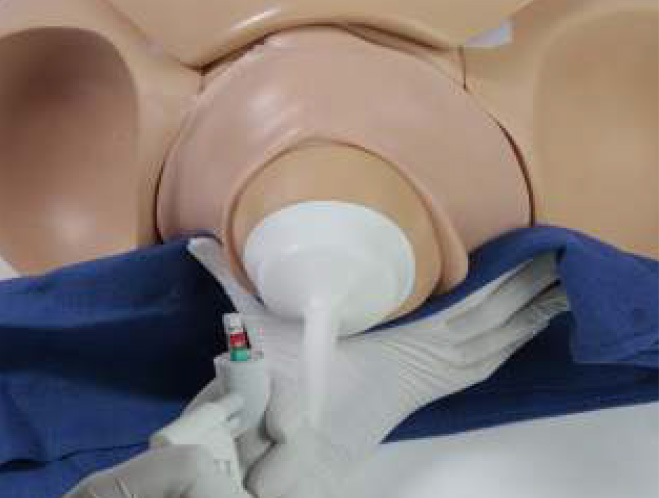
Vacuum-assisted delivery may be practiced with the NOELLE simulator using a vacuum cup.
- Begin the vacuum-assisted delivery by inserting the soft scalp over the skull of the birthing fetus.
- Lubricate the fetus as described in the Normal Labor and Delivery section.
- Connect NOELLE to OMNI® 2.
- Select Play from the Labor page.
OMNI® 2 will load with predetermined settings. Fetal heart rate of 140 BPM, delivery speed of 10 cm/min and the dystocia feature of.
Activating the delivery mechanism will move the fetus down the birth canal.
- Select the Pause button as soon as the cervix is fully dilated.
- Use the manual vacuum pump to attach the cup to the skull and apply traction with each contraction.
- Await the next contraction that may be simulated by the OMNI® 2.
- Select the play button, then the pause button again to move the fetus slightly down the birth canal.
Shoulder Dystocia
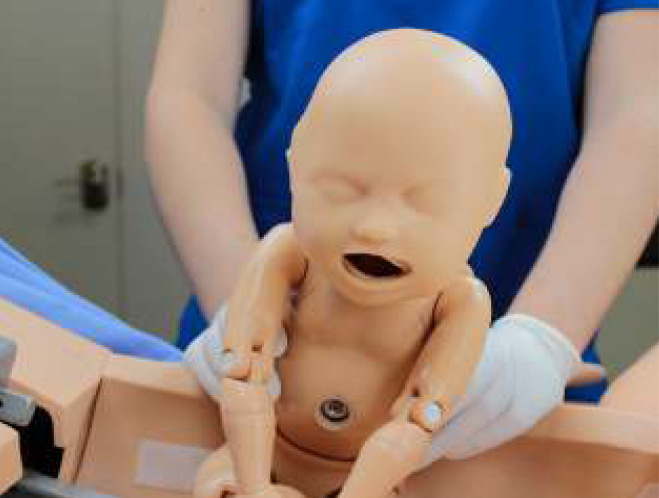
- To demonstrate shoulder dystocia, place the fetal baby in the ROA position.
- Connect NOELLE to OMNI® 2.
- Set the labor labor duration by pressing the + or - buttons.
- Activate dystocia by tapping Shoulder Dystocia. Dystocia enables the "turtle signs".
- Set the "Point of Obstruction" using the slider dot
- Select TURTLE SIGN and set the frequency of the turtle signs
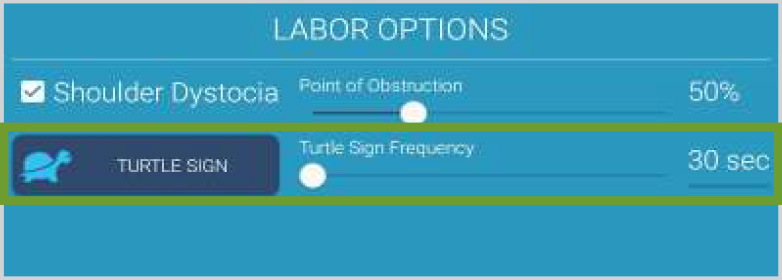
If the fetus cannot be delivered, the Instructor can uncheck the Shoulder Dystocia box which will cause the fetus to resume the movement down the birth canal.
Optional Cesarean Delivery
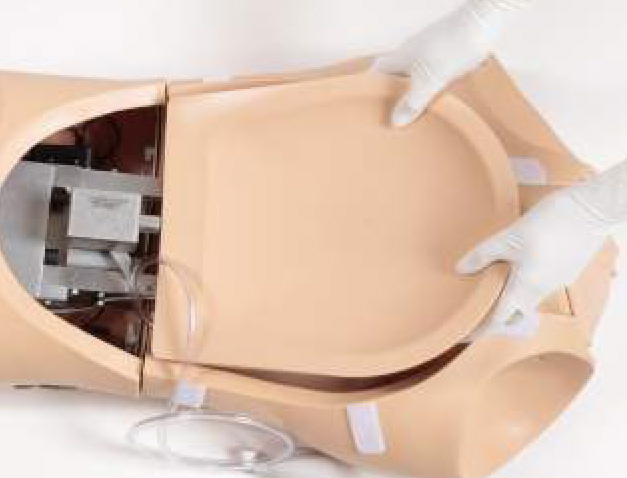
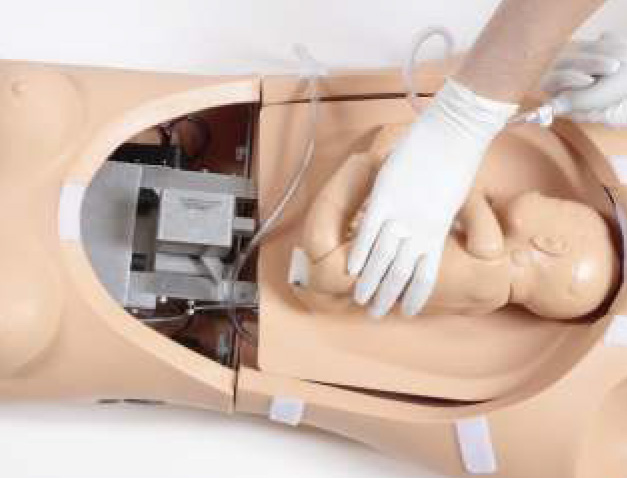
Demonstrate a C-section using NOELLE. To complete this procedure follow the steps below.
- Retract delivery mechanism.
- Insert inlatable cushion and fetus.
- Attach abdominal cover using the velcro.
- Birth the neonate between the stomach cover and pubic bone.
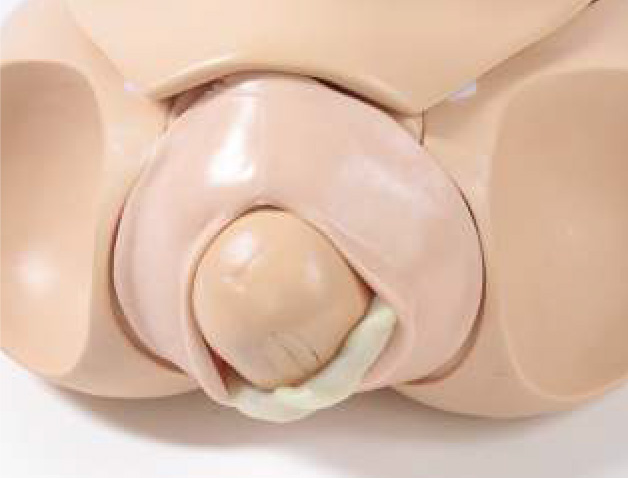
Prolapse of the Umbilical Cord
Simulate prolapse of the umbilical cord by positioning cord on a critical position.
Decrease the fetal heart rate from the OMNI® 2 tablet.
Placenta Previa
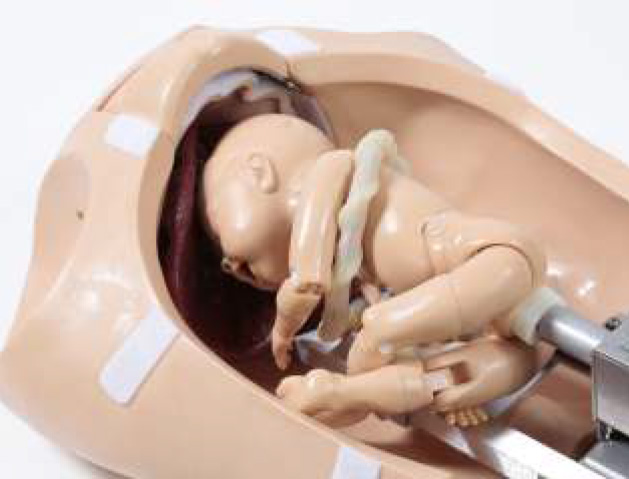
To simulate placenta previa with NOELLE, place the placenta in the desired position to simulate the condition, with the maternal side against the uterine wall or the cervical os. Then place the fetus within the uterine cavity with the presenting part closest to the placenta.
Breech Birth
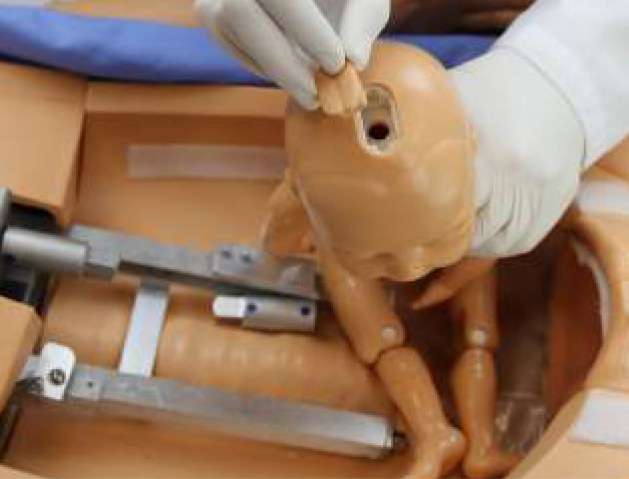
To simulate breech presentations with the Noelle:
- Fully retract the birthing mechanism.
- Remove the fontanelle plug from the fetus.
- Lubricate the fetus and birth canal.
-
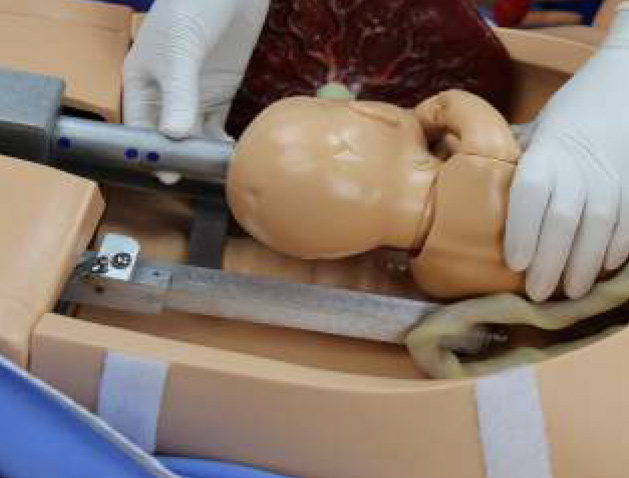
Insert the birthing mechanism into the fetal head using two adapters.
Please note that only one adapter is used for a normal birth. Two adapters should be used for a breech delivery.
- Place the fetal legs in either an extended position to simulate "footing" delivery or retract the legs for a "frank" delivery.
- Press Play in the Labor Page.
- Deliver the fetus.
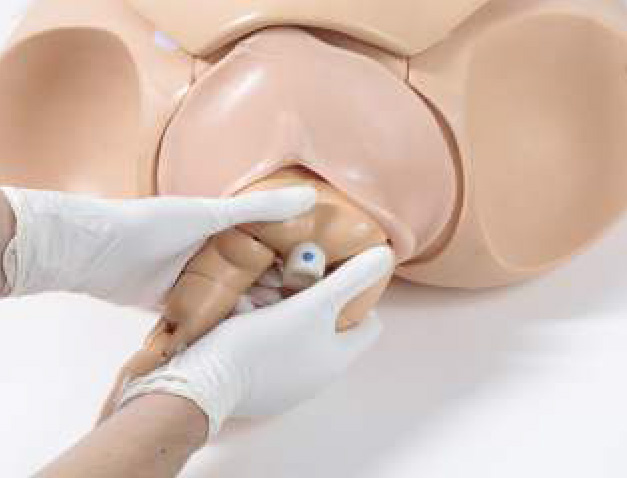
Placenta Delivery
Birth the placenta.
The placenta supplied with NOELLE requires manual removal.
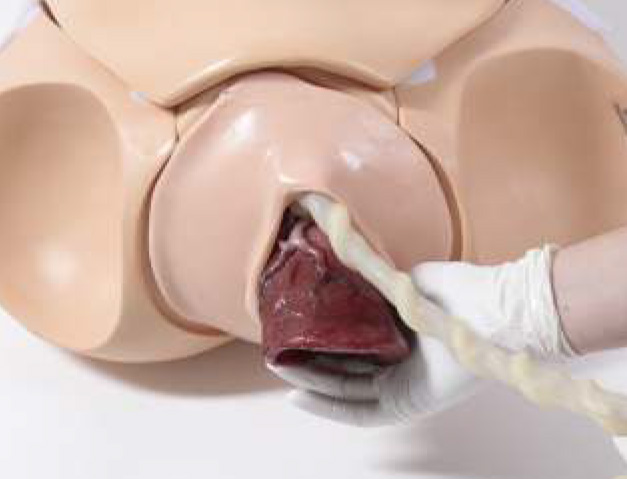
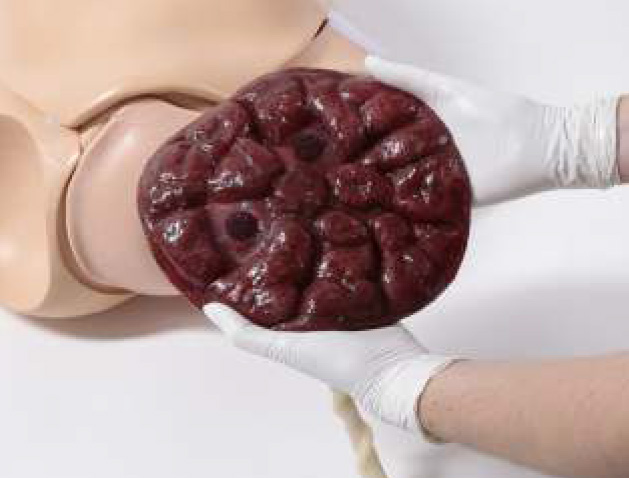
In addition, note that the placenta is designed with two removable placental fragments. These fragments are attached to the body of the placenta with Velcro®.
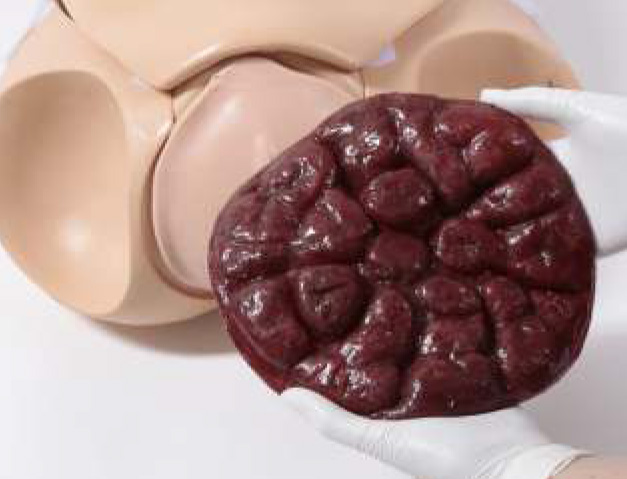
You may reverse one or both fragments causing one or both to birth with the placenta or remain aixed to the uterine wall.
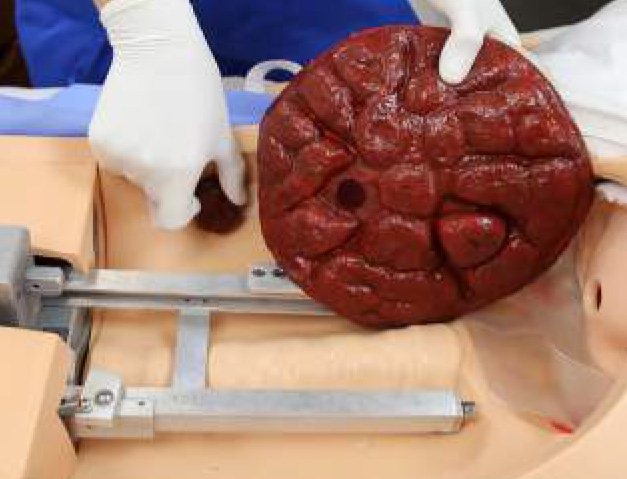
Inspect the placenta for retained fragments.
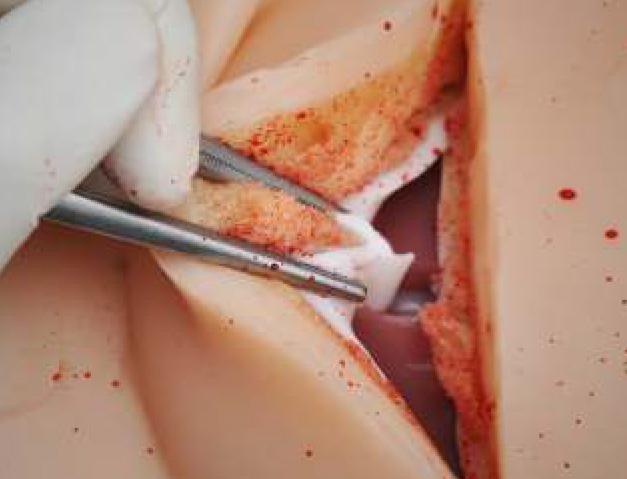
Episiotomy Repair
Remove the fully dilated vulva used during delivery and select one of the two episiotomy repair modules. Velcro a repair module into place. Use a "000" size suture and small curved needle to repair the surgical incision or repair.
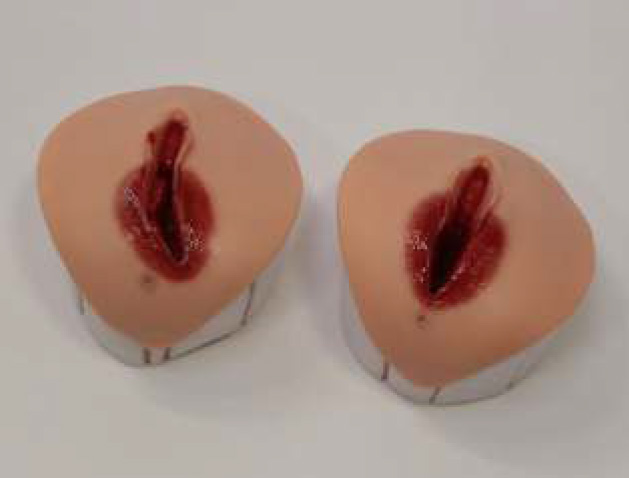
"000" sized sutures are recommended to extend the life of the repair modules.
