How to Set Up iSimulate
Equipment Needed
-
USB-A To USB-C (For Access Point Power)
Step 1: Set up Equipment
Grab the iSimulate case and note the color. Each iSimulate unit is given a color that connects all the parts.
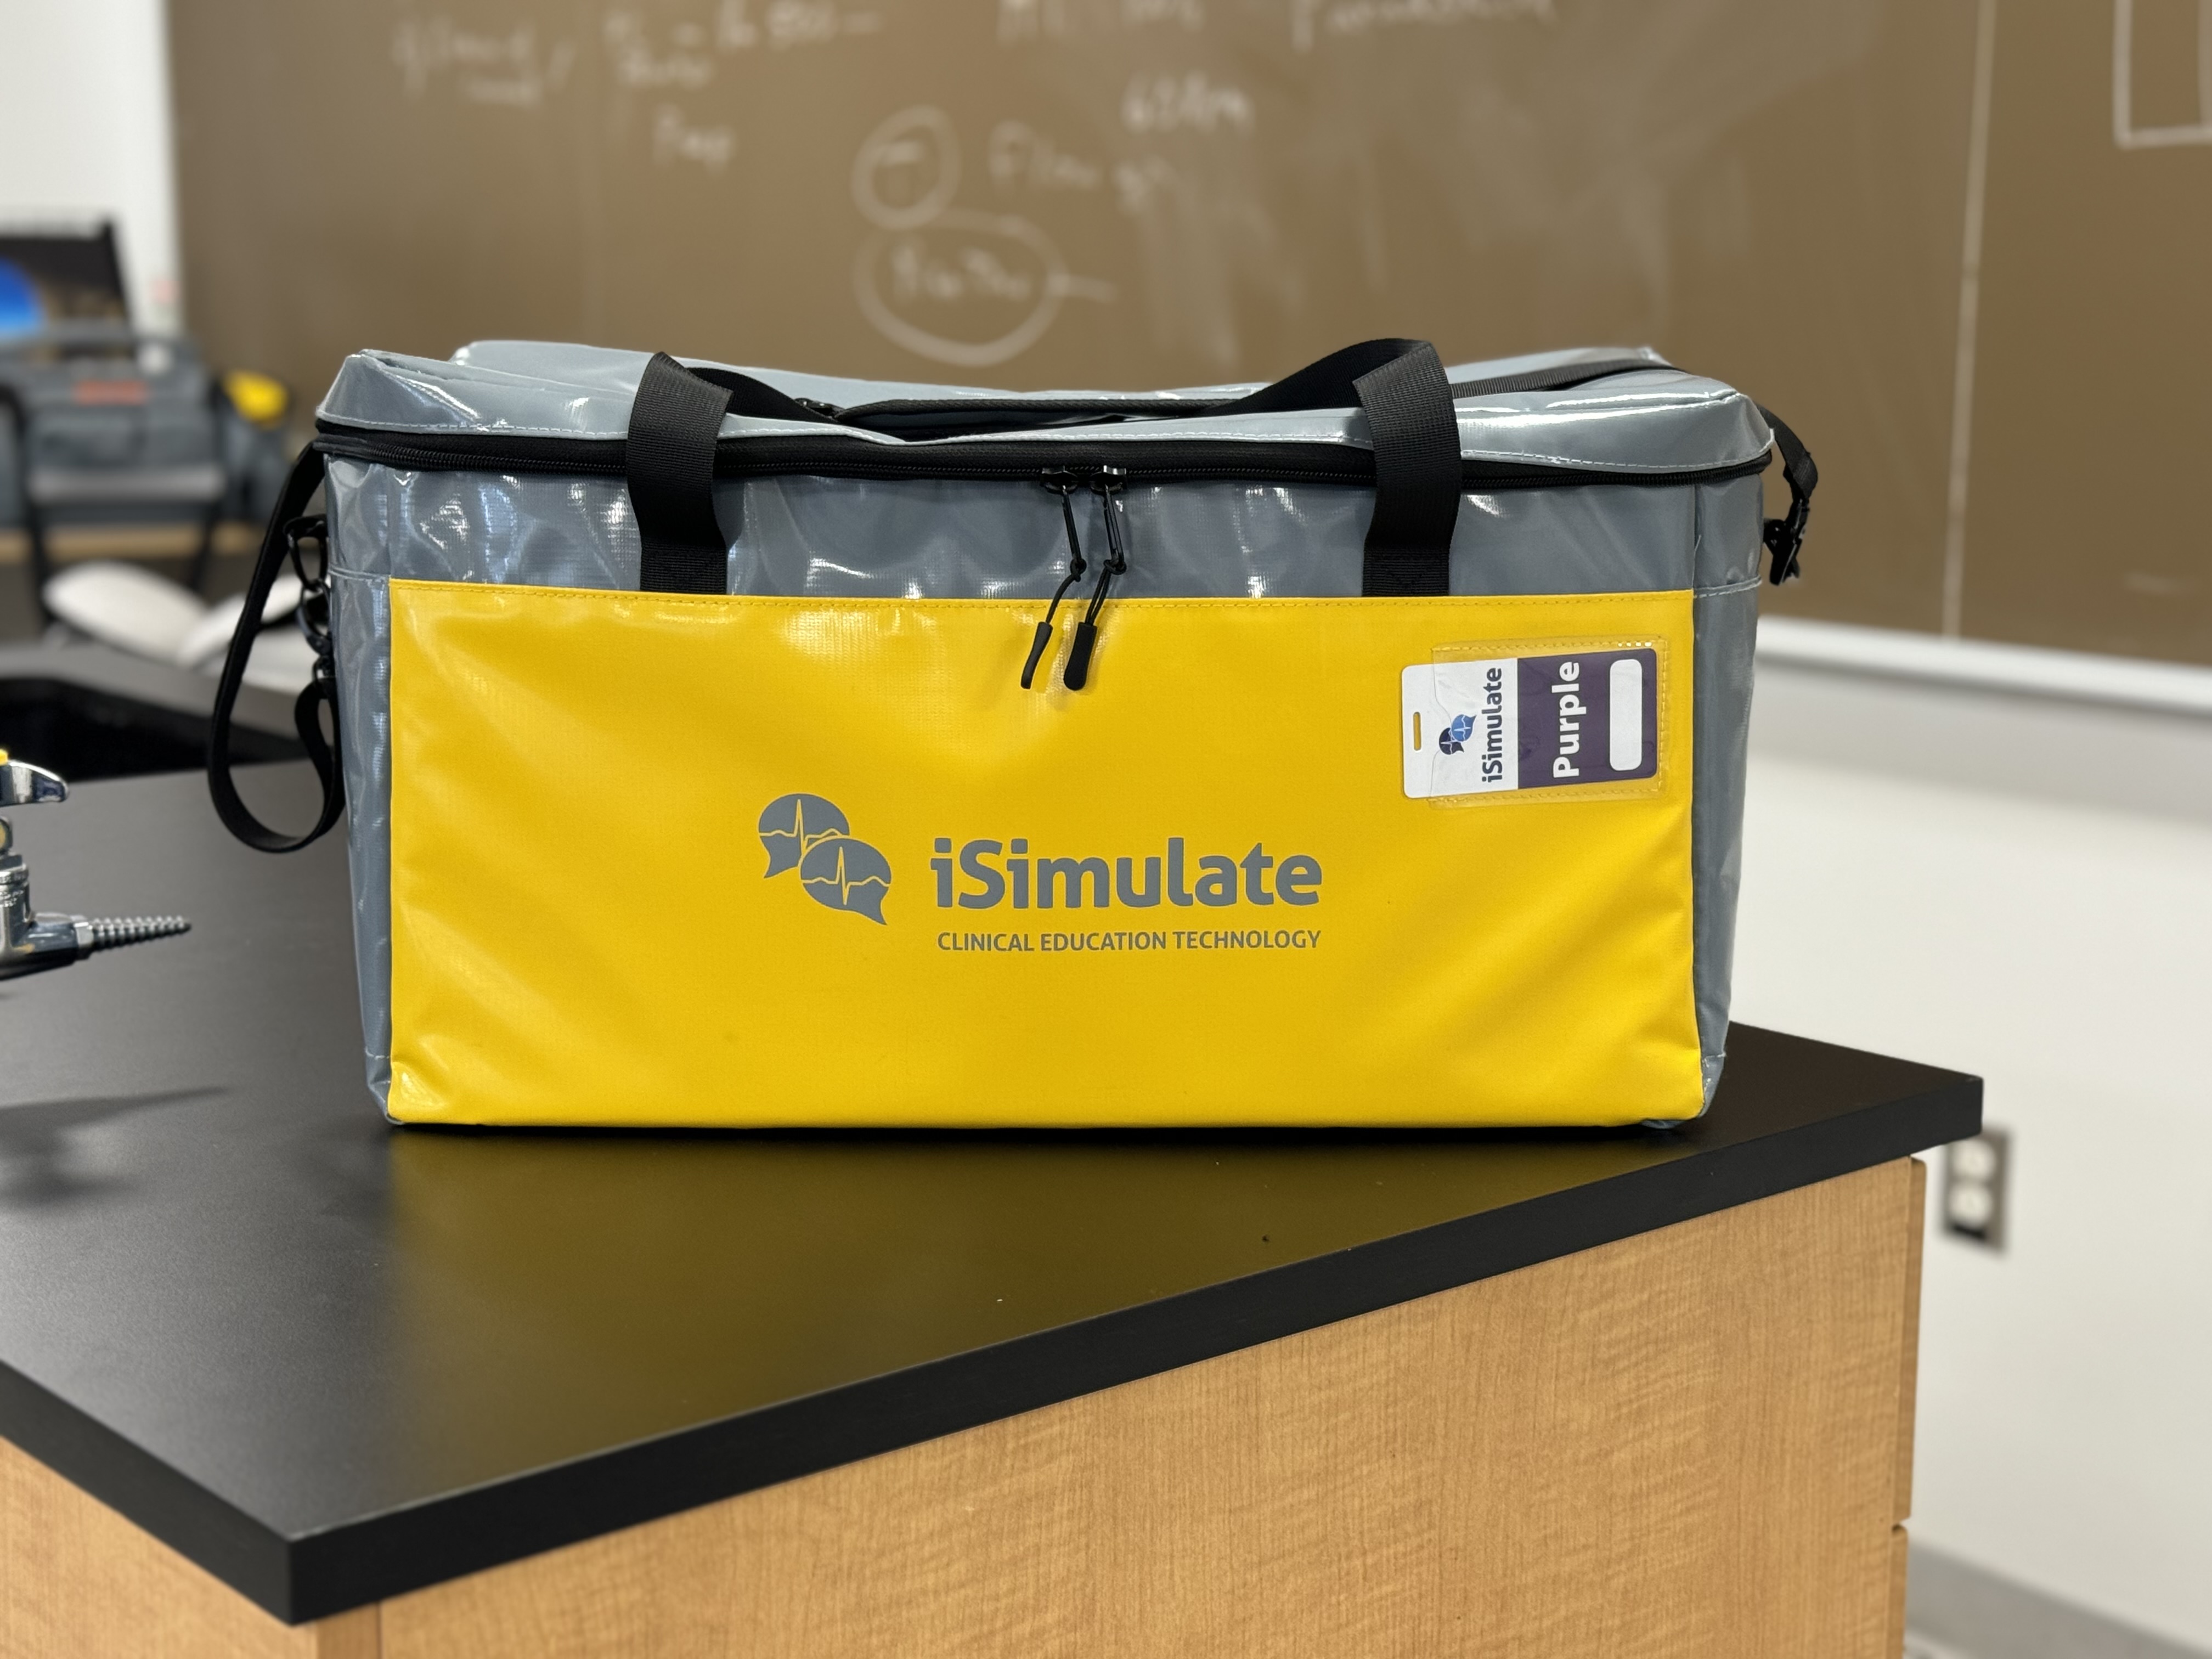
Step 2: Turn on Equipment
Access Point
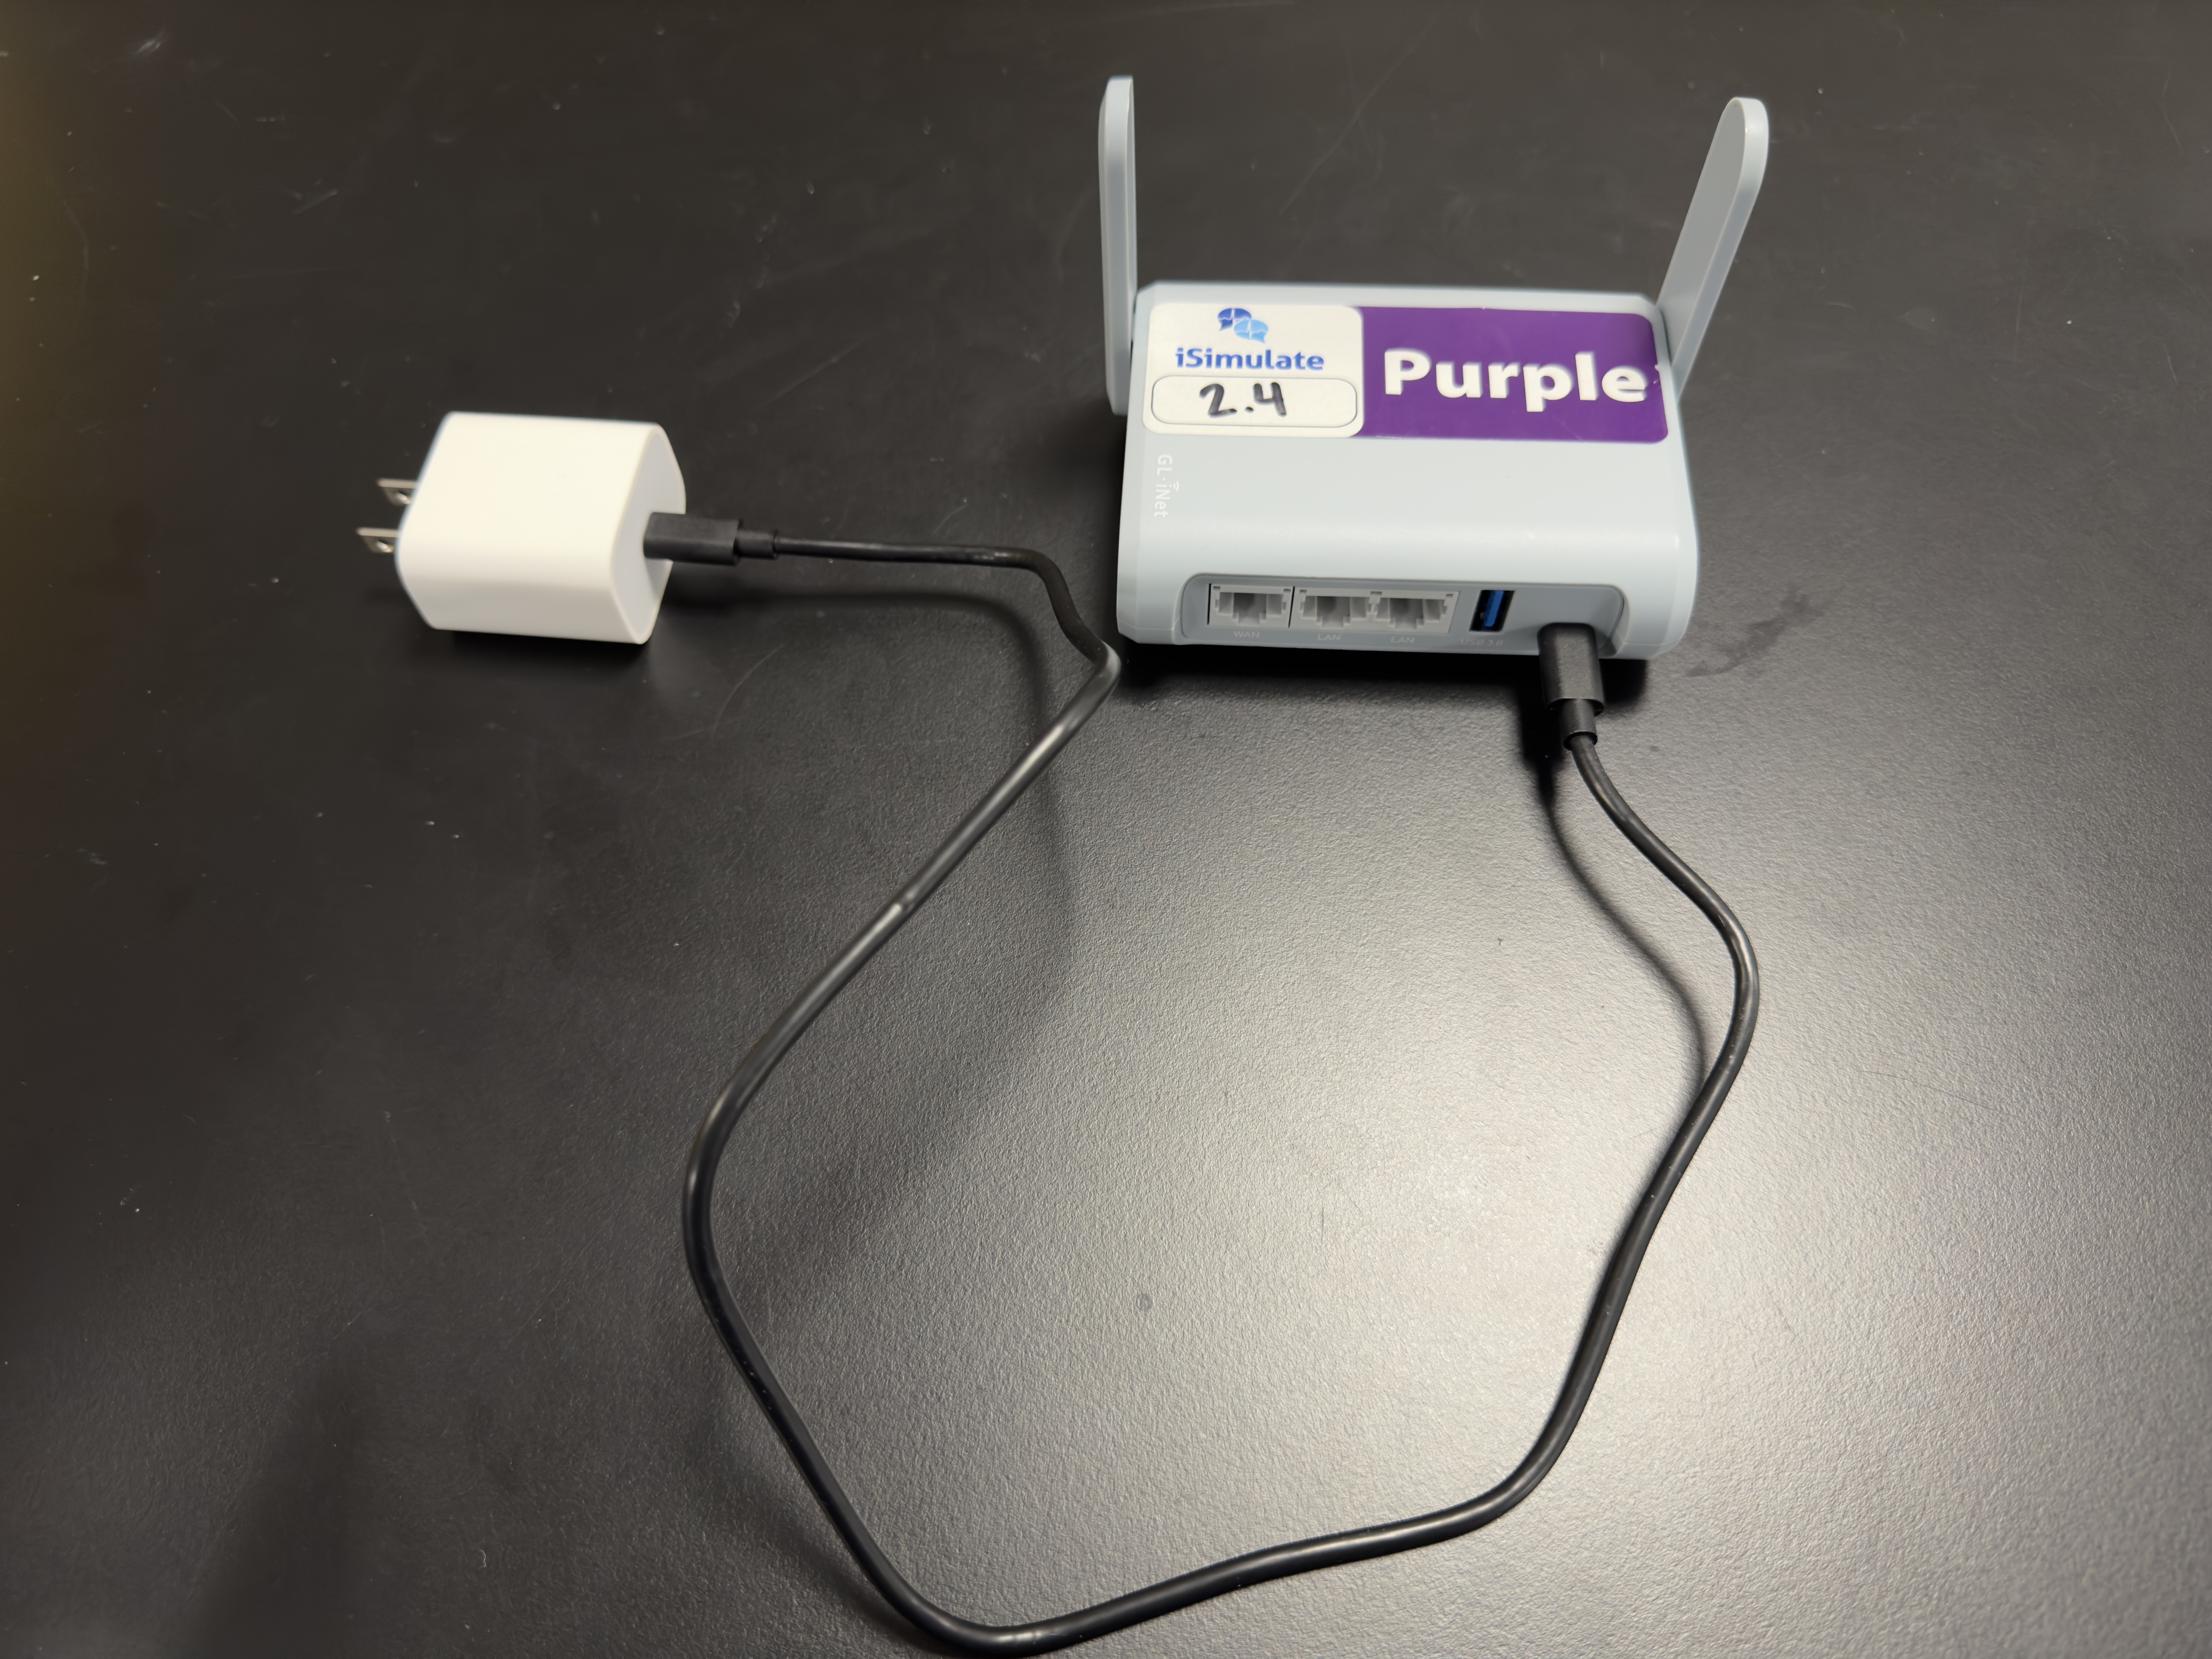
Plug in the access point to an available outlet.
Ensure the color listed on the access point matches the color of the iSimulate Unit.
iPads
Turn on the Monitor iPad and the Control iPad.
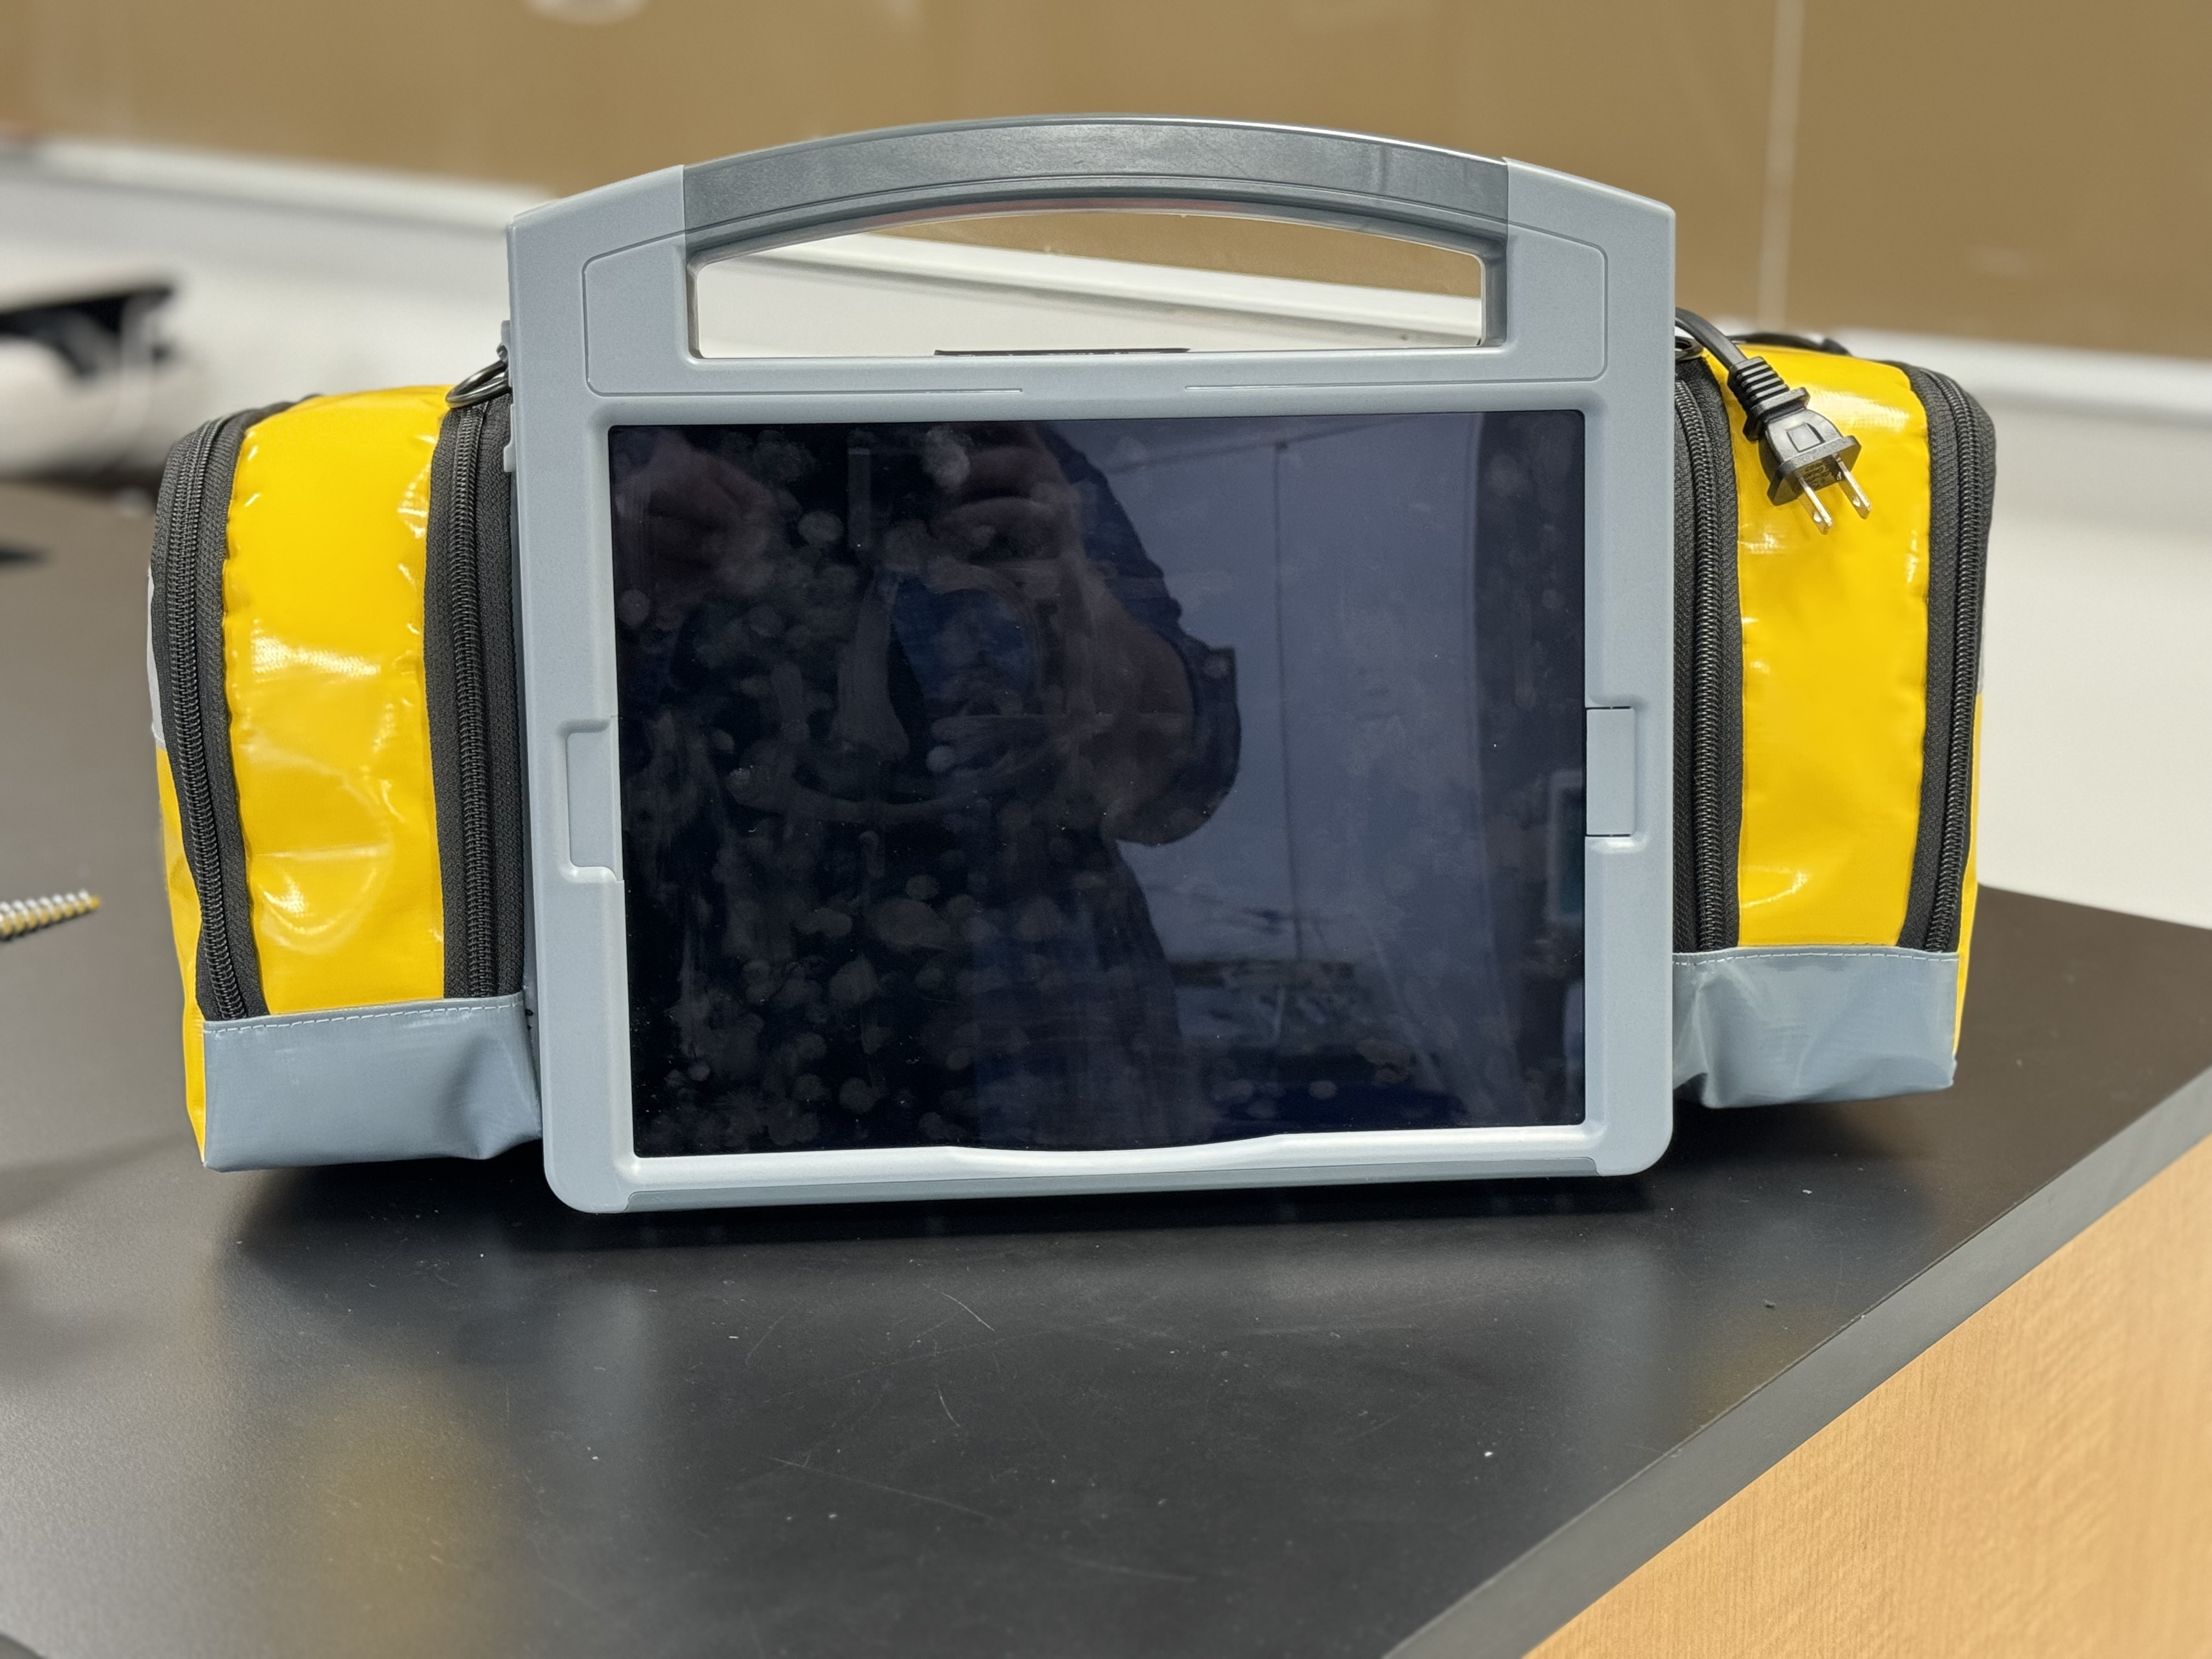
Monitor iPad
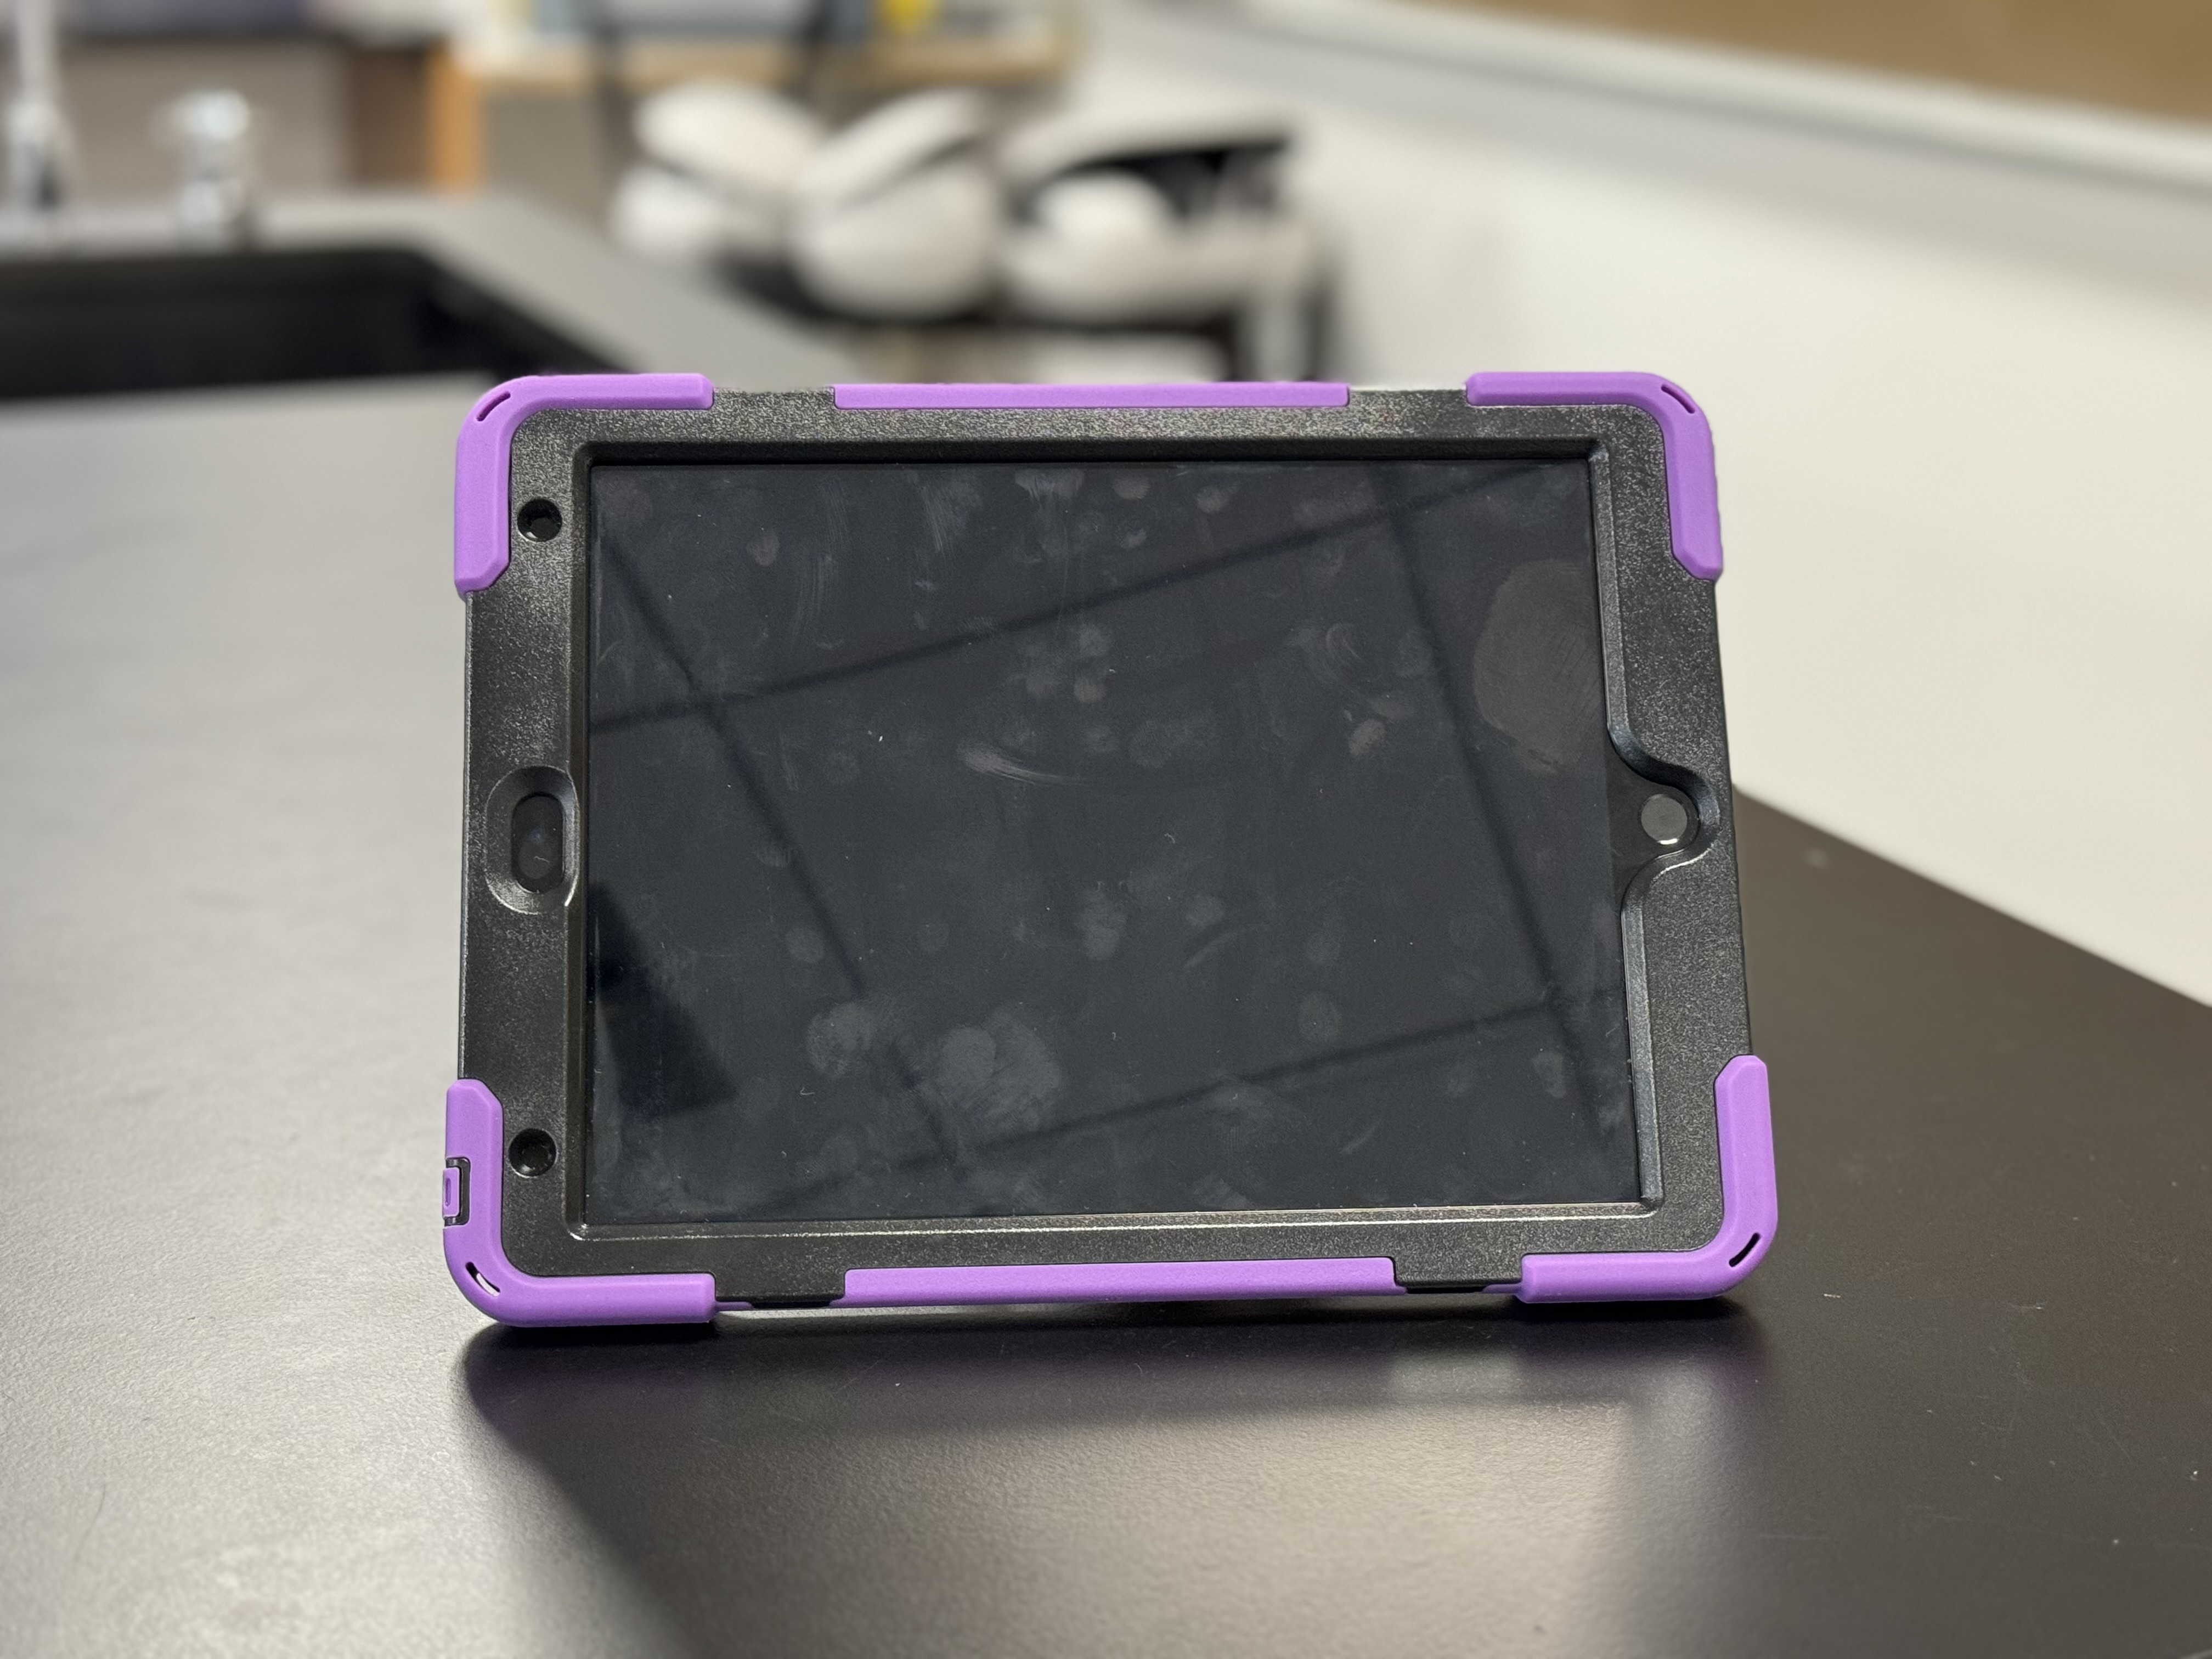
Control iPad
Step 3: Use the iSimulate Shortcut to connect the iPads to the iSimulate Network and Start-Up App
The iSimulate shortcut on the home screen will attempt to start the application.
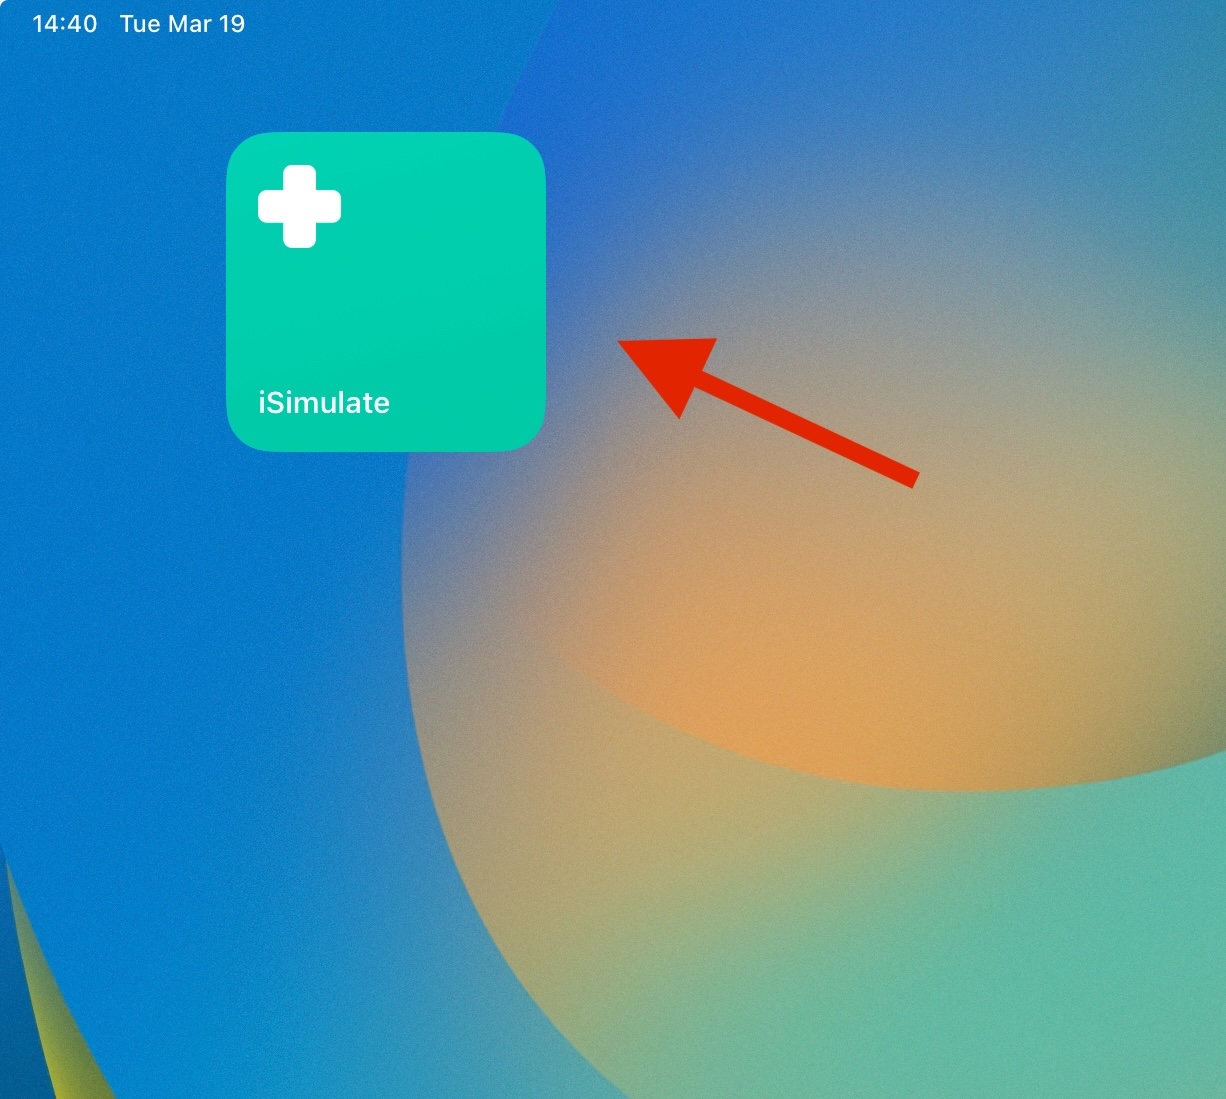
For iSimulate to work, both iPads must be connected to the network created by the access point.
If the iPad is not connected to the correct network, it will open the iPad's Wi-Fi Settings.
Look for the network labeled with "iSimulate" and the color of your iSimulate unit.
Once connected, re-run the iSimulate Shortcut on the home screen to start the application.
Step 4: Connect the Control iPad to the Monitor iPad.
When the Monitor iPad is ready, it will show a screen asking to connect the Control iPad.

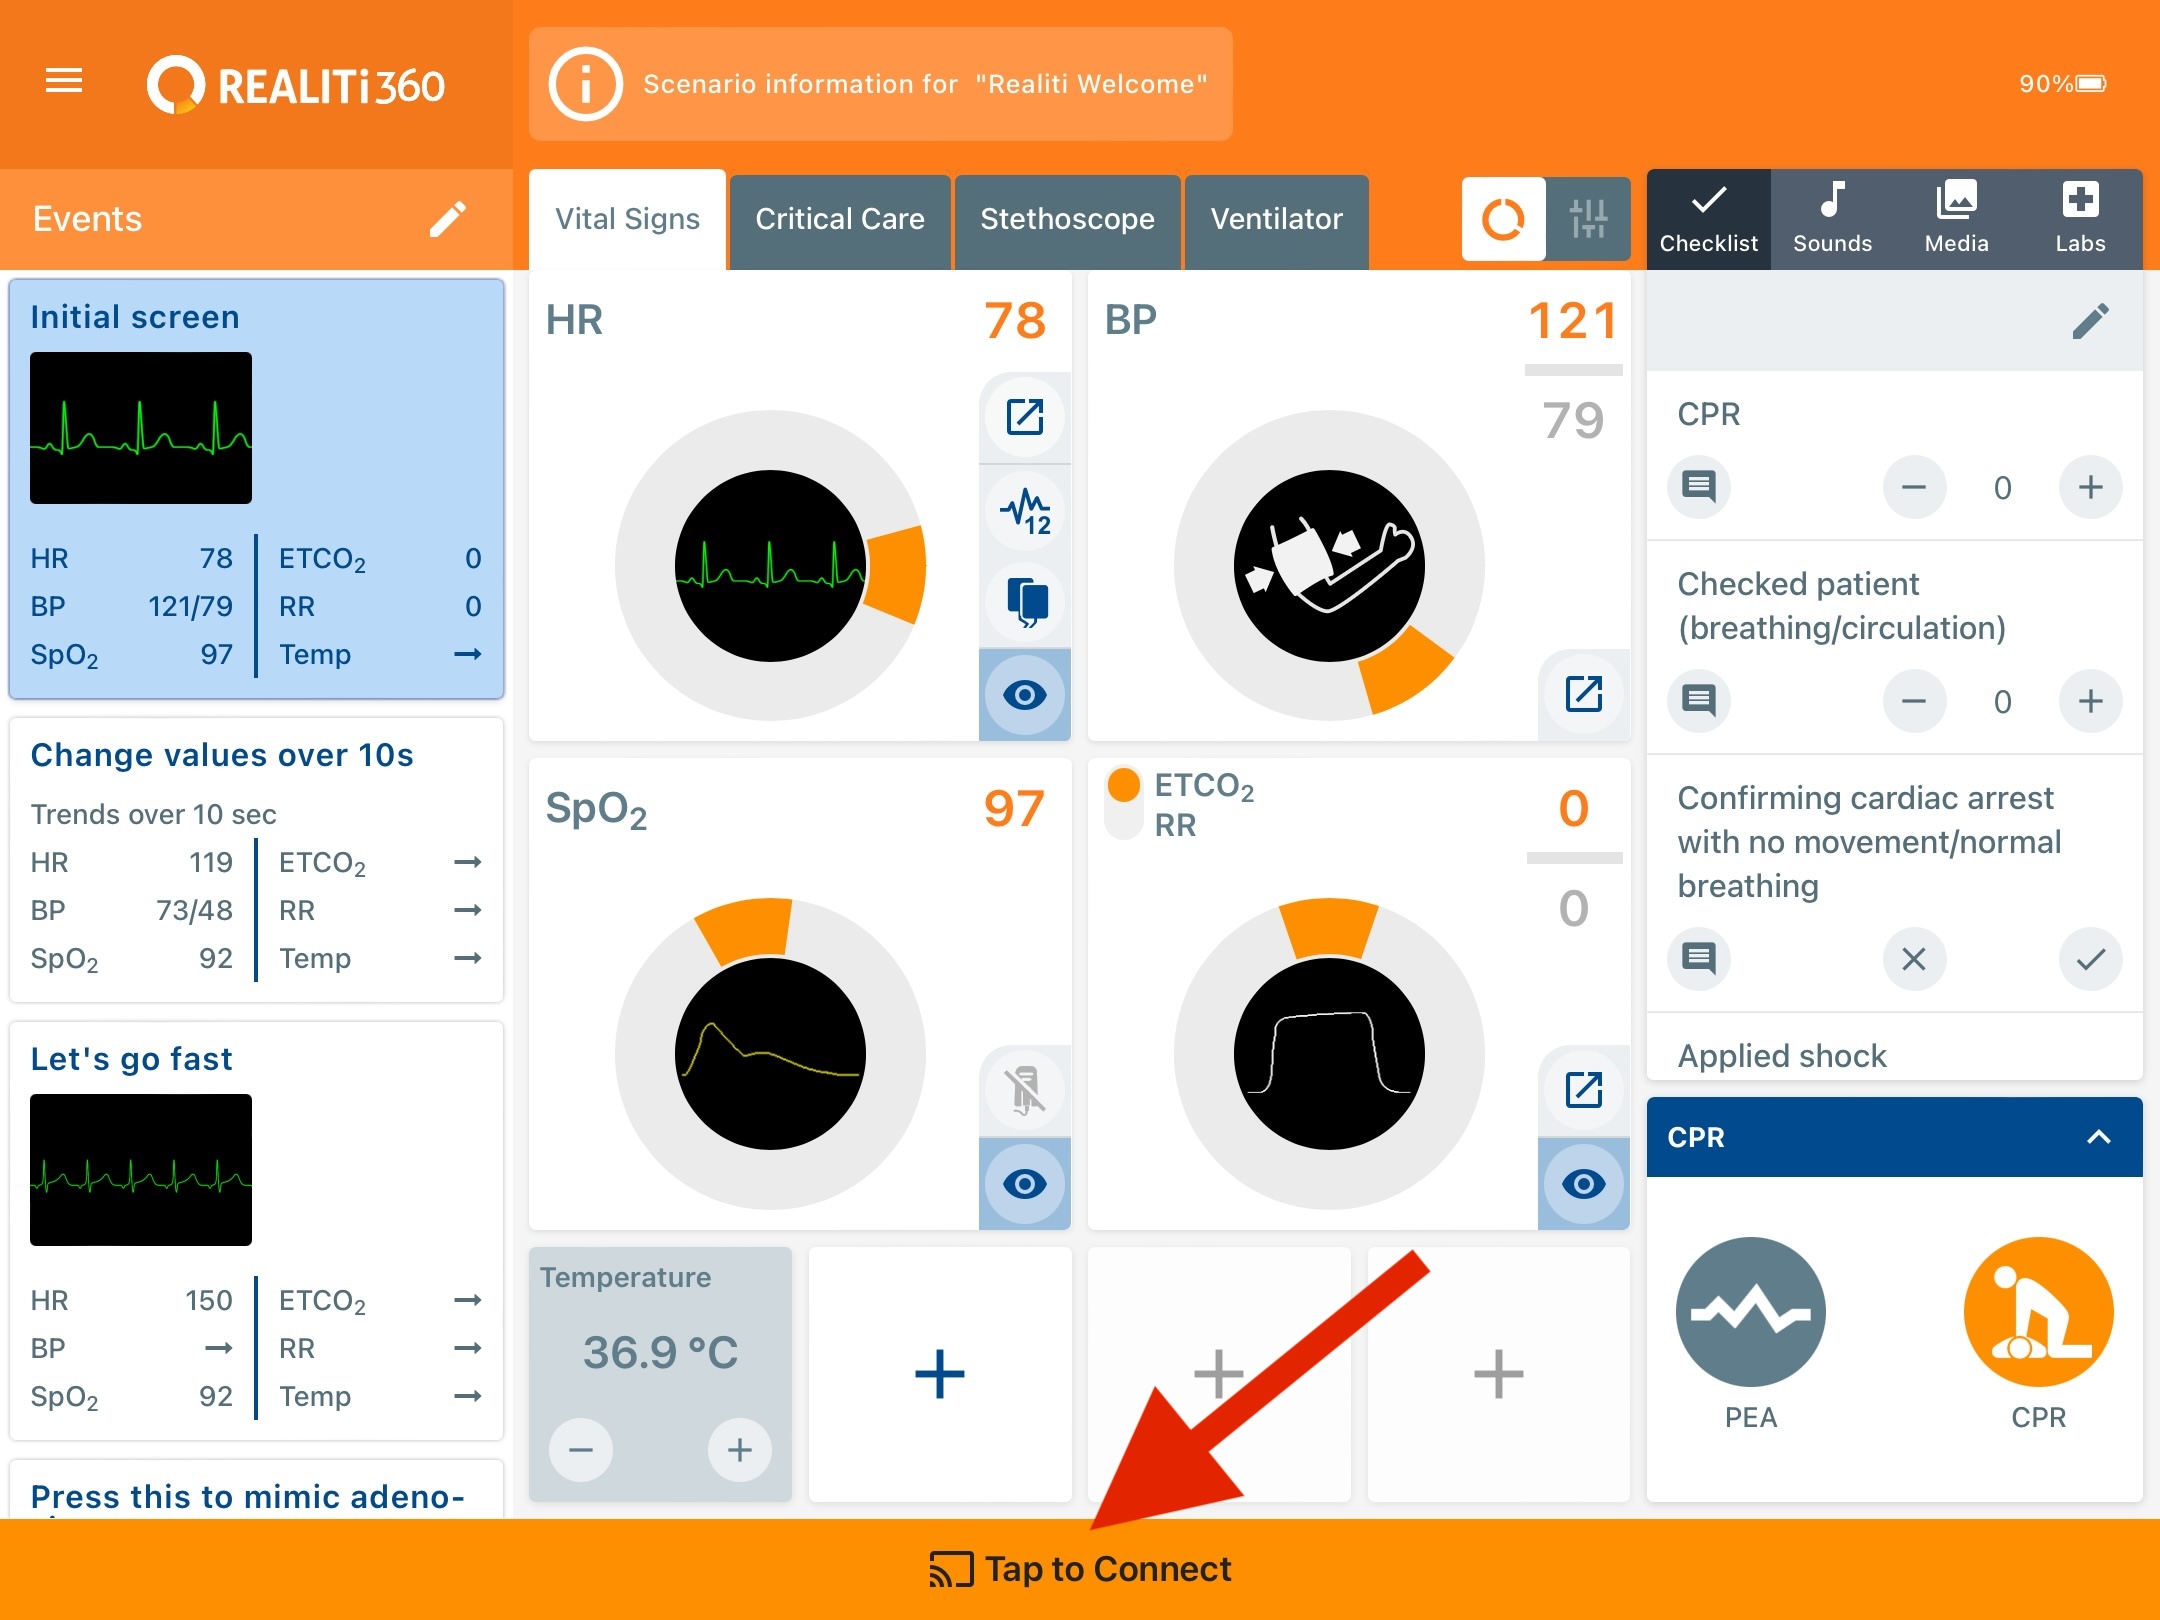
On the Control iPad, press the Tap to Connect banner on the bottom of the screen and then select the correct monitor from the list.
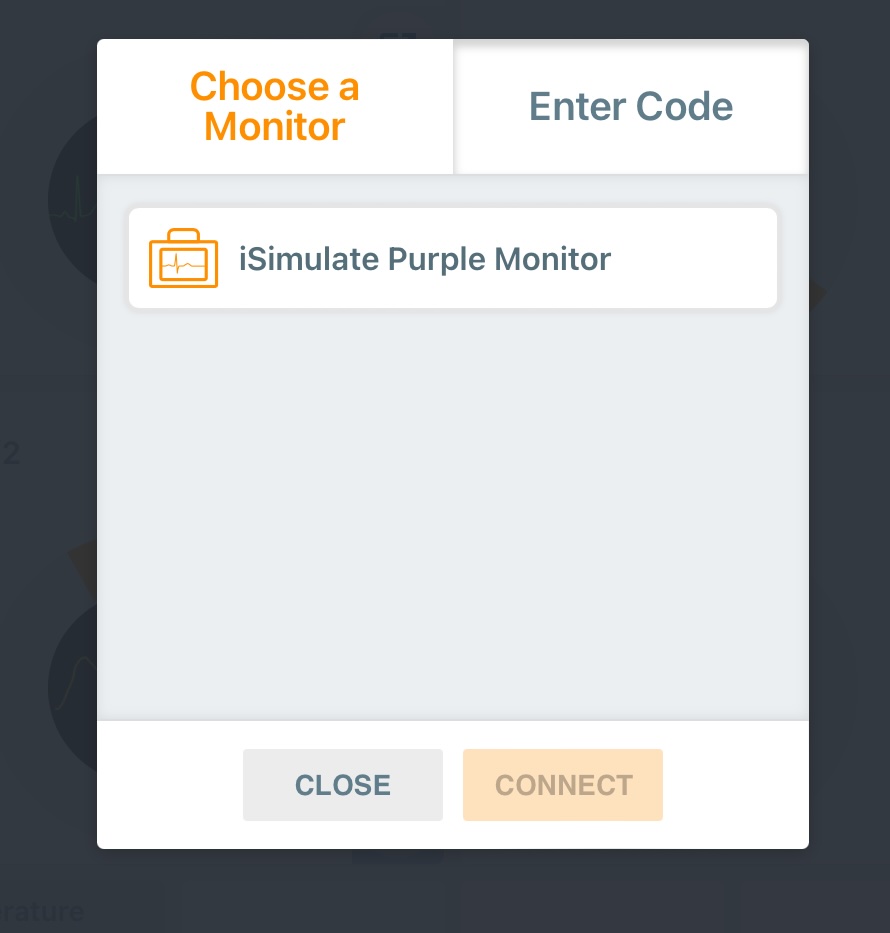
Once connected, you will be brought to the Scenario Selection Screen.
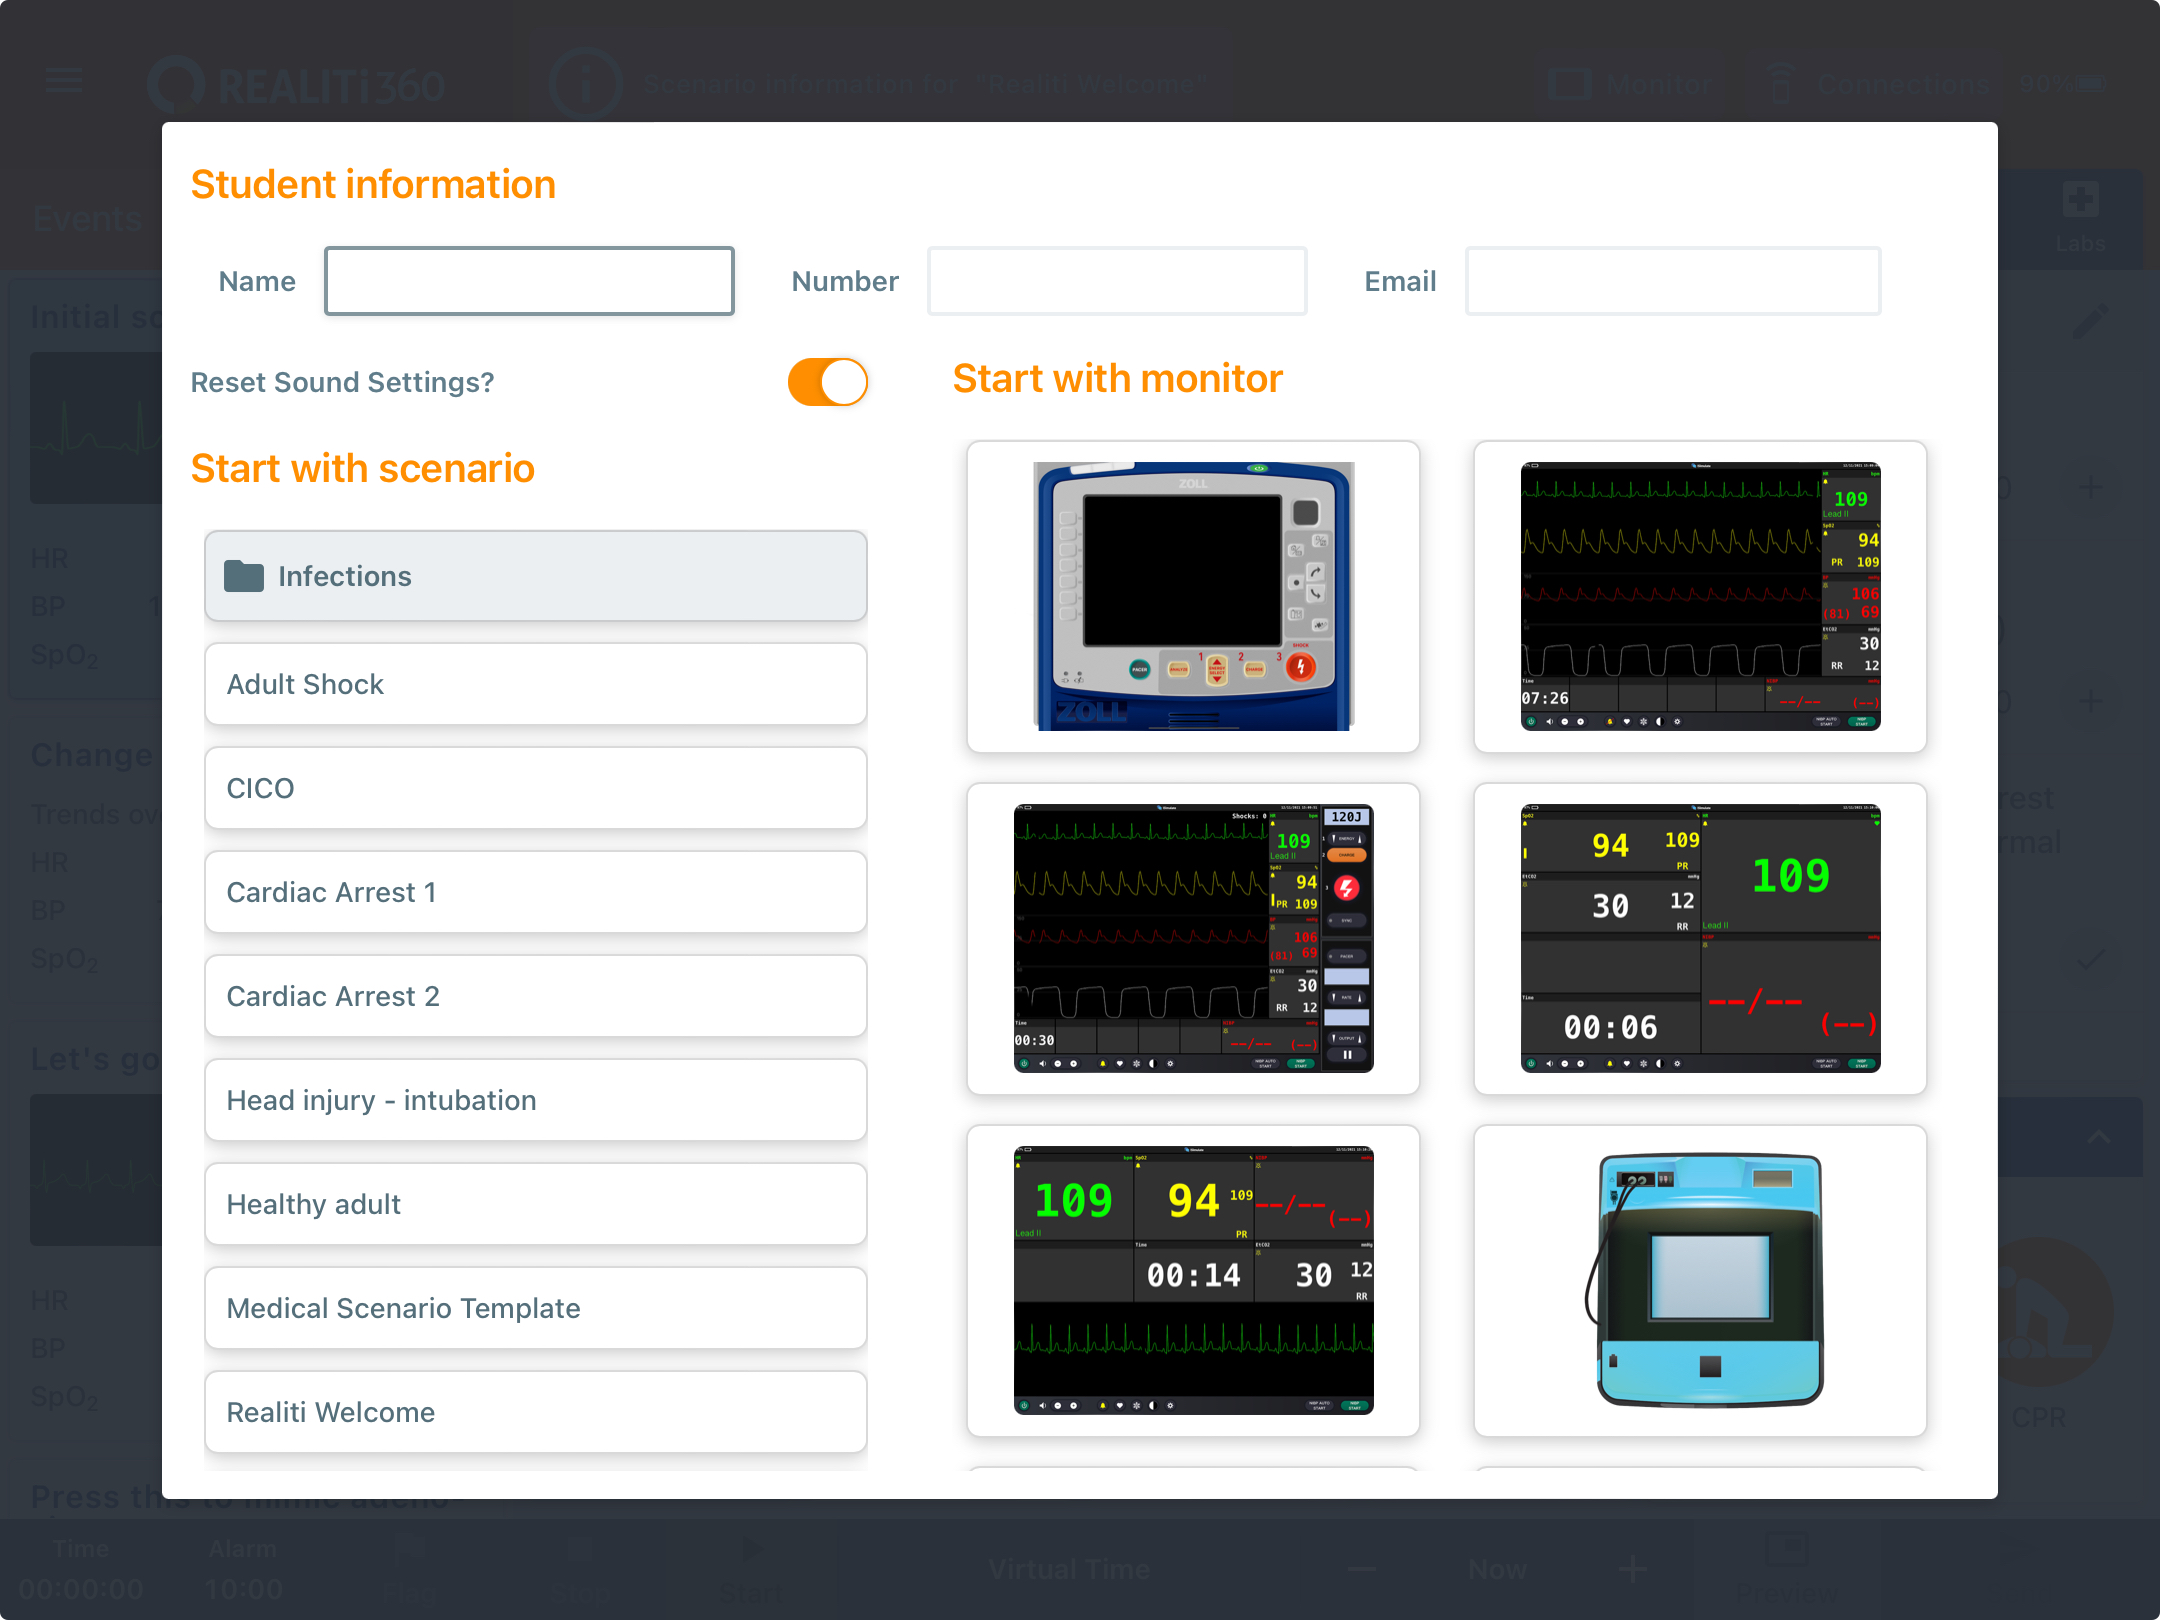
You can now Load an iSimulate Scenario or Create a Scenario on the Fly.